The trick when working with young children and talking about complex subjects is to simplify and make the subject tangible. We opened our class about 'Force' by building a marble run. ![]() 
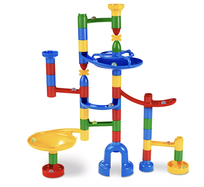
Marble runs are great for open-ended building. They’re an example of a STEM toy (Science, Technology, Engineering, Math). And, they’re a lot of fun, both for kids and adults. This was a great tool to start a conversation about force. There is a lot a variation in how the marble travels - slopes, bends, twists, turns, gravity, heights, etc. To simplify the definition for my young students, I described force as "a push or a pull." I asked the kids to stand up and jump. What force pulled us back to Earth? One bright six year old knew it was gravity! We had two stations that worked with gravity. Our splat painting station was so simple, yet I kept hearing giggles come from this area. Children stood on step stools with adult supervision and dropped cotton balls soaked in paint. I encouraged students to experiment with the height of the drop. What makes the best splat? Most kids had never been allowed such a messy experiment and it raised a lot of laughs. Gravity also played a star role in our drip paintings. This station was setup with canvases propped up on table top easels. Using pipettes with liquid watercolors, students gently released the paint at the top, allowing gravity to pull the paint down the canvas. After kids were satisfied with the amount of drips, we put these canvases aside to dry and would come back to them at the end of the class. Before introducing our spin art station, I asked kids to stand with their arms loose at their side and then spin themselves. What happened to their arms? Their arms were pulled outward. When objects spin, there is a pull from the center to the outside. So what happens when we put paint on paper and then spin it? Most kids guessed that the paint would be pulled towards the sides. At our fourth and last station, we played with pendulum painting. This took a bit of experimentation because the paint consistency had to be just right. If the paint was too thick, the pendulum only dripped dots. If the paint was too thin with water, the paint poured immediately through, making puddles. Students showed a lot of perseverance, using trial and error to get the paint just right. It was fun to watch their face light up when they perfected the paint consistency and the pendulum drew beautiful designs on the floor. We ended class by coming back to our drip paintings. I asked students what they thought their drips looked like. Were they like rain drops? Did they resemble flower stems? Using this prompt, students were then given the freedom to add various collage materials. A clear favorite art material was glitter! These drip paintings were so beautiful and magical. Each art piece was unique and completely created by the individual child. In this process, each student developed their creativity and built up their confidence in their abilities.
0 Comments
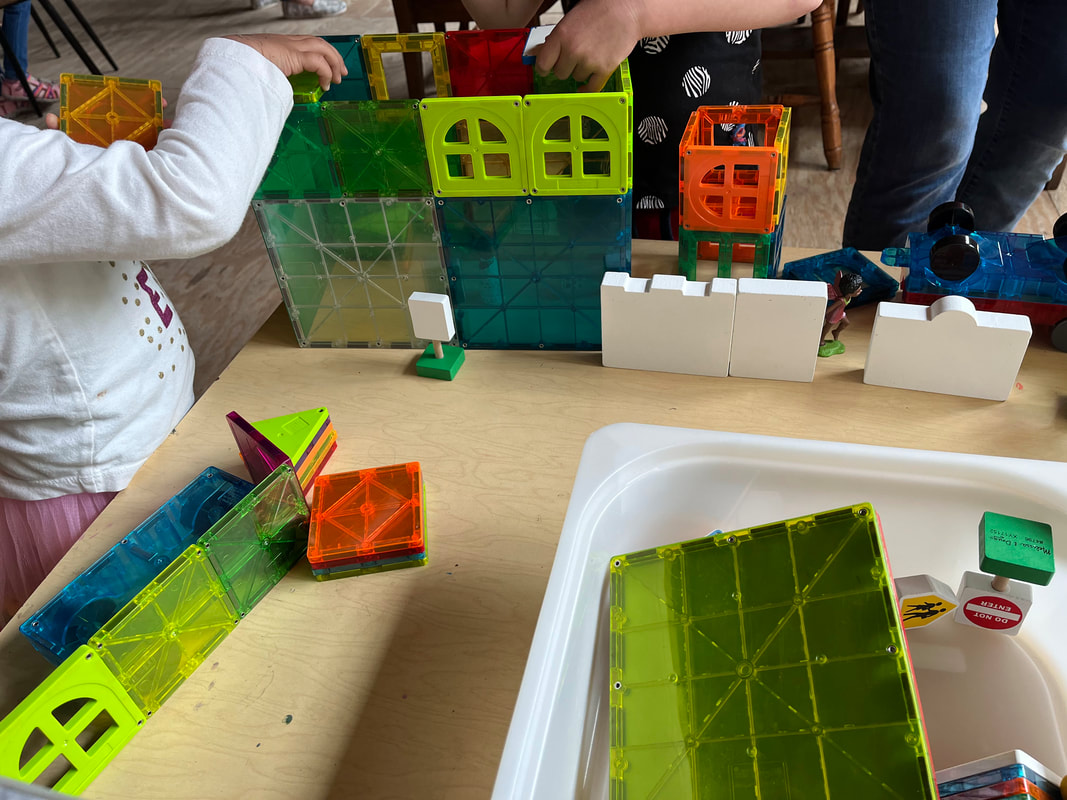
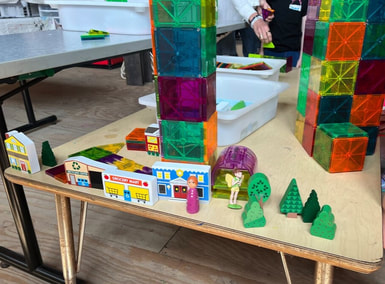
Today we began a new class series that focuses on how science and art can intersect. Traditionally, art and science have been treated as separate disciplines, but when they are studied together, it’s clear to see the impact one has on the other. 
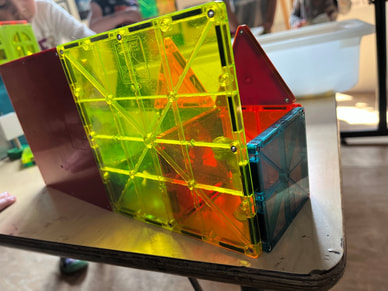
In our first class of the series, we focused on magnetism. When children arrived, they were invited to build with MagnaTiles. To inspire Mini Makers, I Included wooden people, trees, and buildings. In no time, our future city planners were building a little town. After Mini Makers had some time building, we talked about what science is and what scientists do. I invited students to approach each station with “why?” questions and make guesses. Even though the first station was very simple, students chose to explore this station for a while. Like marble painting, the station was laid out with paper taped to trays and two marble magnets. Unlike marble painting though, the marbles were controlled by a magnet wand under the trays. It was fun to watch the marbles wobble and dance across the page. The second station was similar to the first station, but slightly more complex. I reminded students of the town they had made with the MagaTiles and invited them to draw another town on a cut-open cereal box. I showed students a car I drew and then attached to a magnet. I was able to “drive” the car through town by moving a magnet wand under the cardboard. Each student used the invitation to create in their very own way. Instead of drawing a town, one student used scraps of paper to collage a town. Instead of putting a car on top of the magnet, one student drew a duck. And instead of attaching the duck in a 2-D fashion, she propped it upright to make it look like it was walking. Such wonderful creativity! Our third station had nothing to do with magnets, but instead focused on using art for scientific observation. We talked about how some scientists keep track of their observations in a science journal with sketches. Using my wilting Mother’s Day bouquet, students were encouraged to take flowers apart. I showed students how they could stick various flower sections to the paper with double sided tape. I gave the prompt "What shapes, colors, and patterns do you observe?" Mini Makers were encouraged to draw their observations of the flowers. We used pencil first and then went over the lines with sharpie. Finally students used watercolors to give their sketches color. Scientific drawings can be a great learning tool and can be done at any age. Very young children are likely to add details that aren't really there. That's okay at this stage. Introducing scientific drawings is a great first step to becoming a future scientist or engineer.
|
Archives
August 2023
Categories |