|
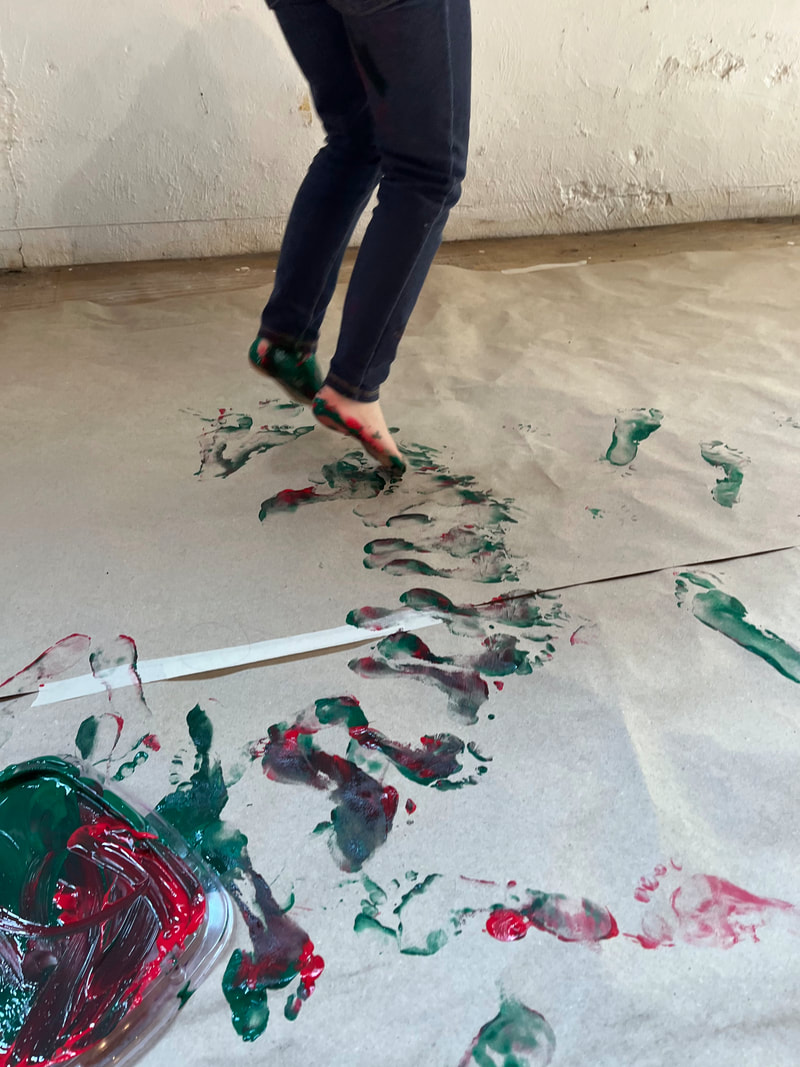
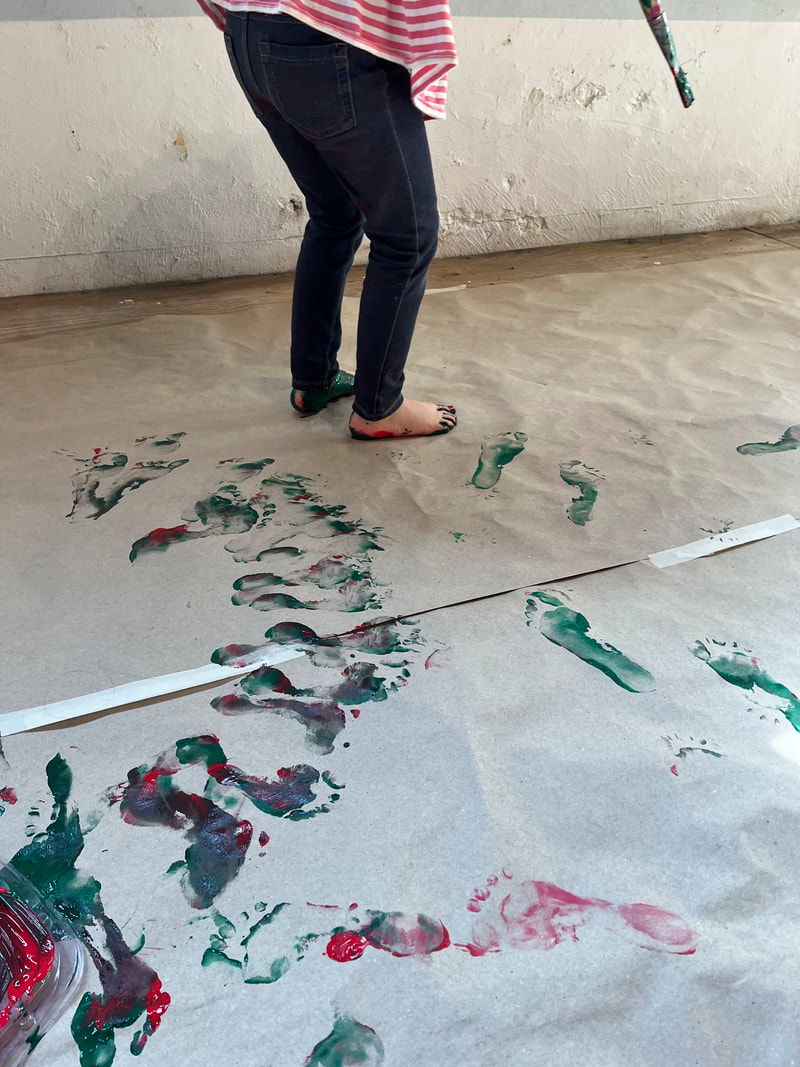
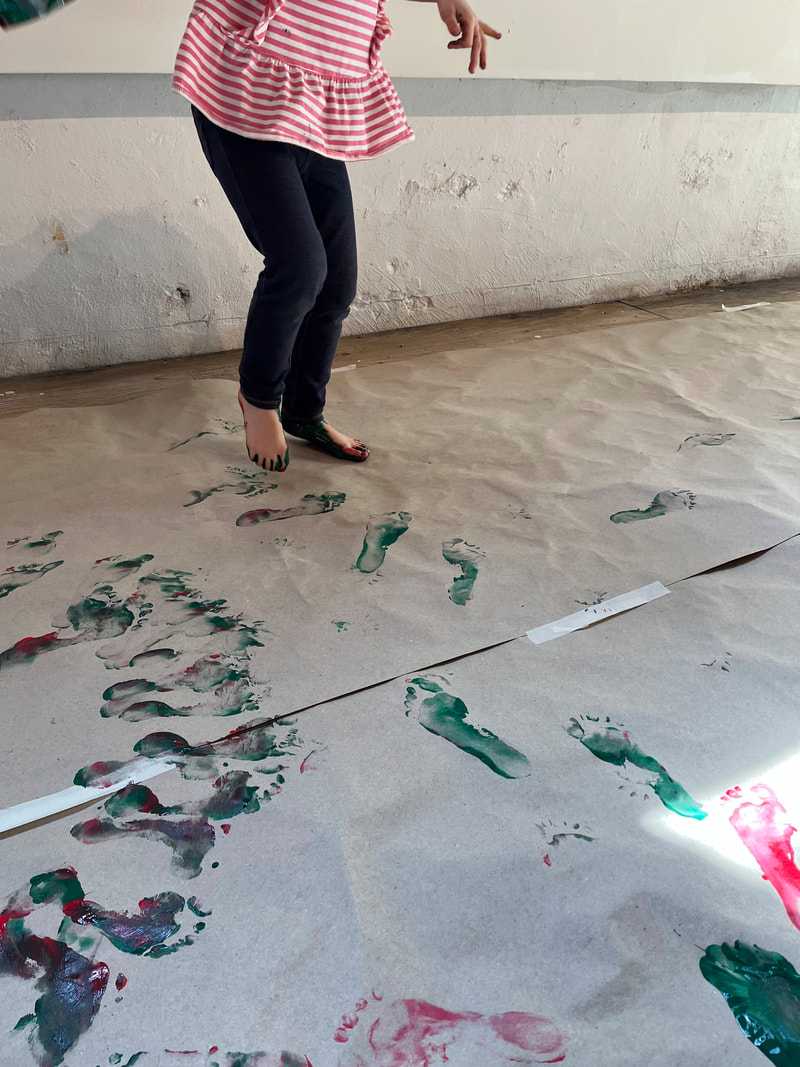
When we talk about our bodily senses, usually we think of the five senses most of us have been taught - sight, sound, smell, touch, and taste. But scientists agree we have more senses than just the five 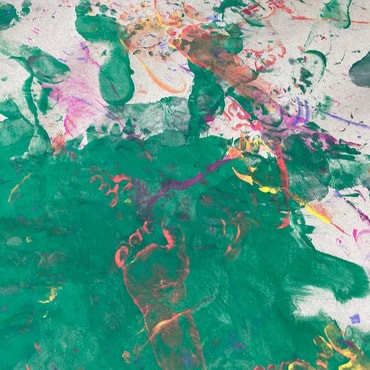 Two of these lesser known senses deal with movement. Our sense of where our bodies are in space is called proprioception. It is our understanding of where our limbs are in space. It helps us climb stairs without looking at each step and balance our bodies. People with poor proprioception may be clumsy and uncoordinated. The sensation our muscles apply to our skeletal joints, like when we are lifting objects or changing directions, is called our kinesthetic sense. This sense helps us to distinguish between light and heavy or whether the our muscles are stretching or contracting.
Children are natural born movers because their movements instinctively activate and strengthen their senses. Today’s class was all about leaning into those instincts, as well as shaking up the way we normally move.
0 Comments
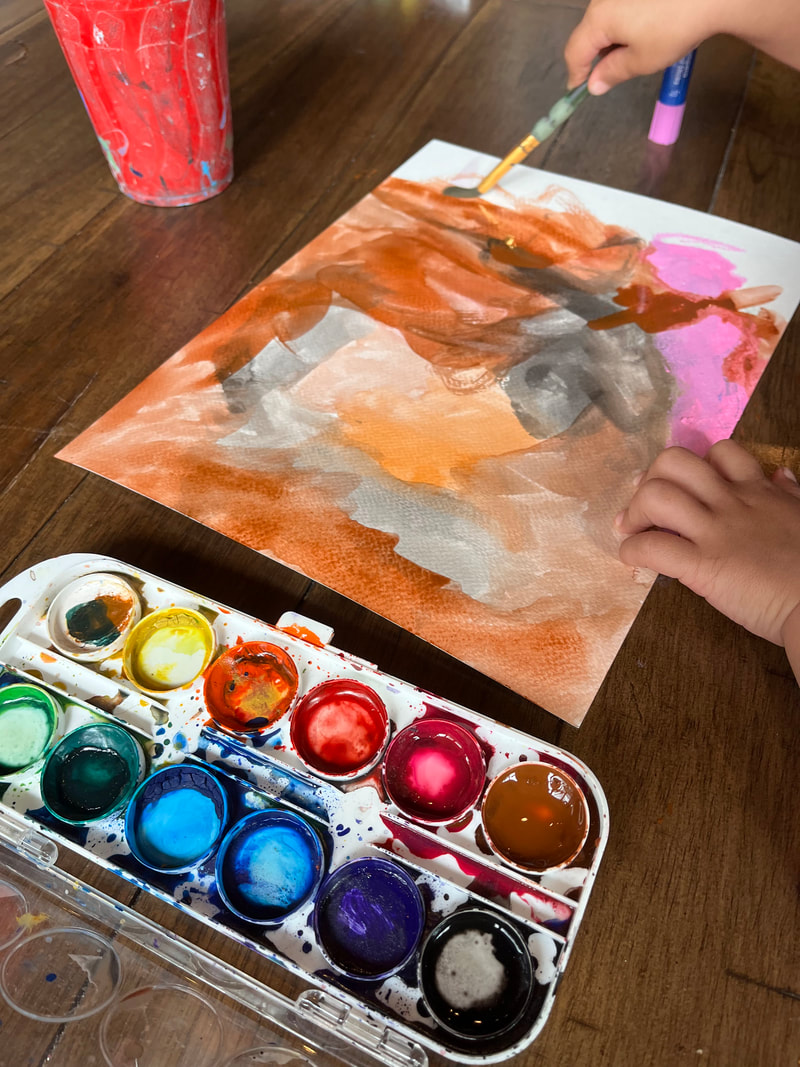
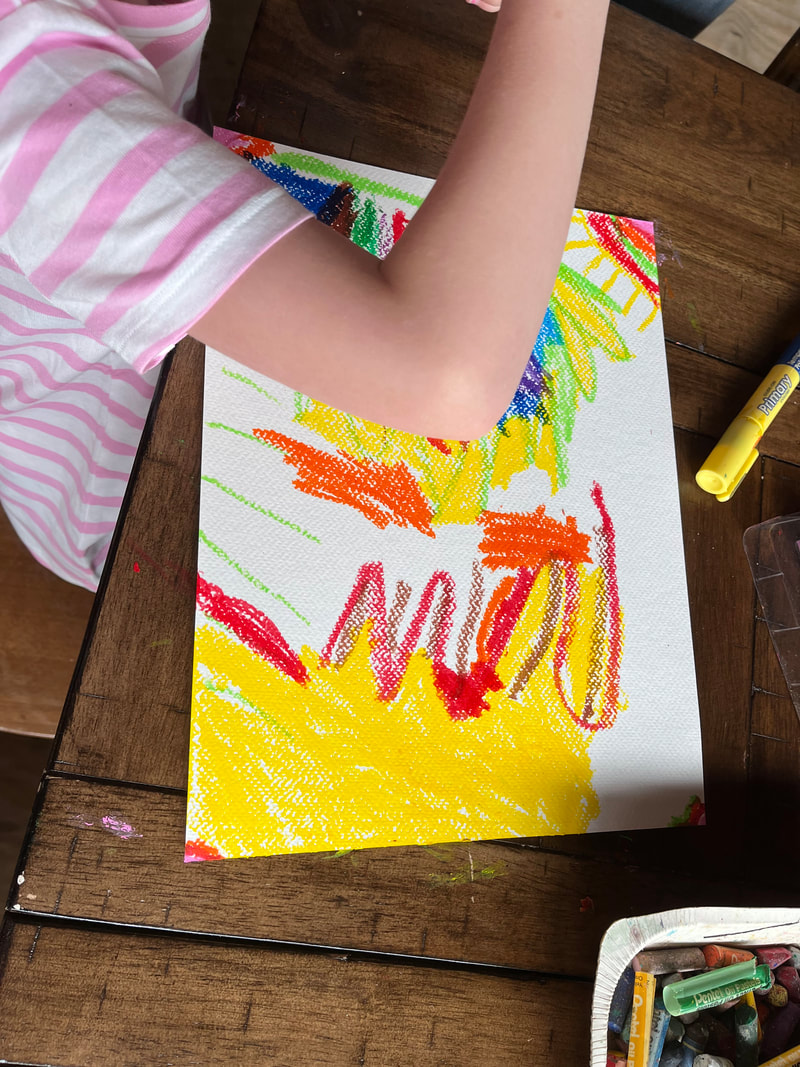
Sometimes when we do process art, there is no product in the end because maybe the art got too wet or destroyed in the process. Or maybe the art was a lot of fun to make, but the product isn't aesthetically pleasing. However, sometimes when we do process art, the process is amazing AND we end up with a gorgeous product. Today was one of those days. I wanted to keep each and every child's art. 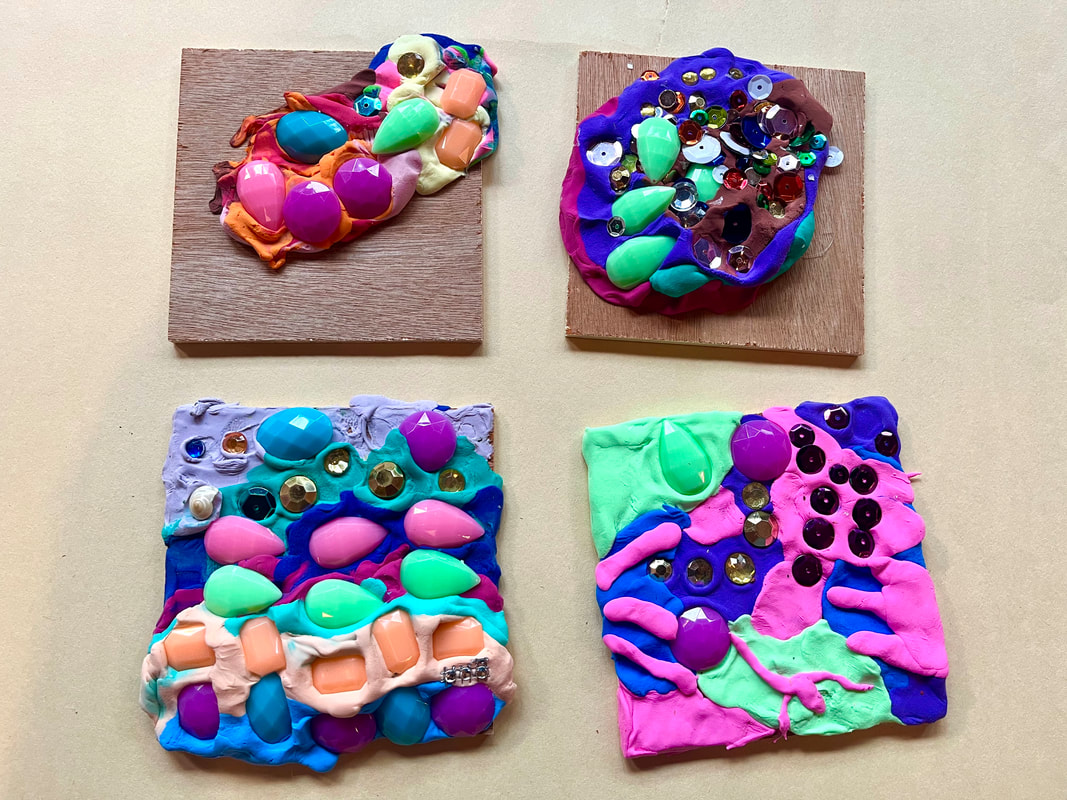 This week, our class focused on exploring art through sound, creating some new and exciting experiences. 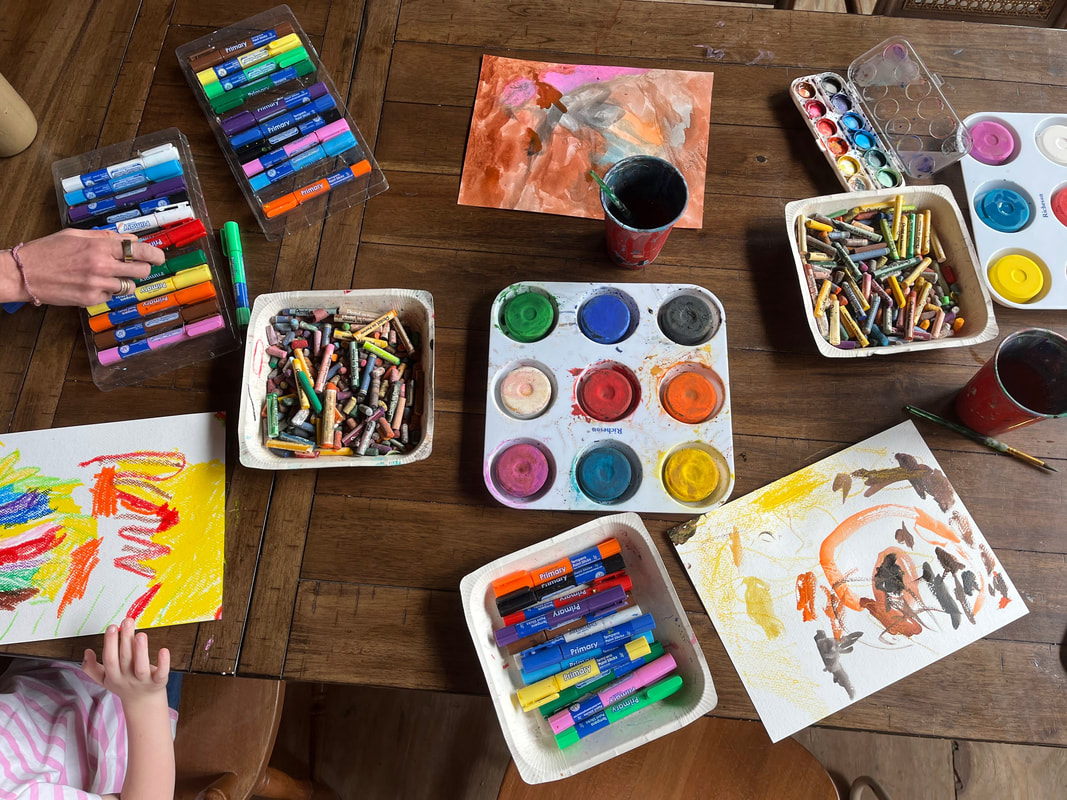 When students arrived, I had some classical music playing. I asked the students to paint how the music made them feel. While they worked, I briefly told them about the painter Wassily Kandinsky and how he actually saw colors when he heard music. To all the adults' amazement, a quiet blanketed the room while the students immersed themselves in their artwork.
Children are naturally drawn to activities that stimulate their senses. They want to touch, taste, smell, and move. That's because children's senses play an important role in their health and development. Through sensory play, children build cognitive skills and learn about their world. 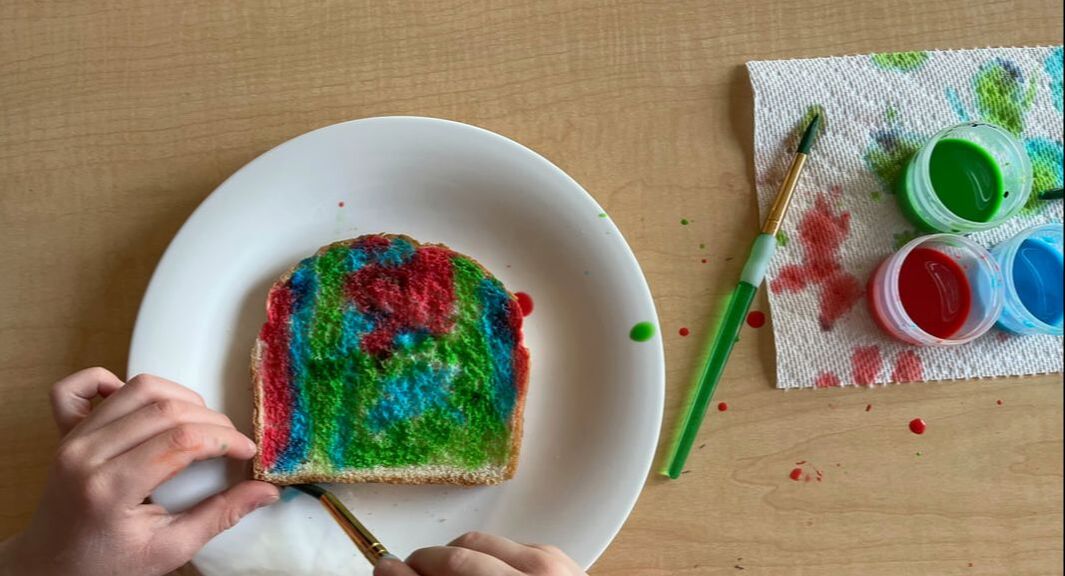 In our 'Sensing Art Beyond Sight' series, we used children's natural interest in sensory play to explore art. Our first class in the series focused on taste and smell. There was an excited buzz about this class because, who doesn't love edible art?
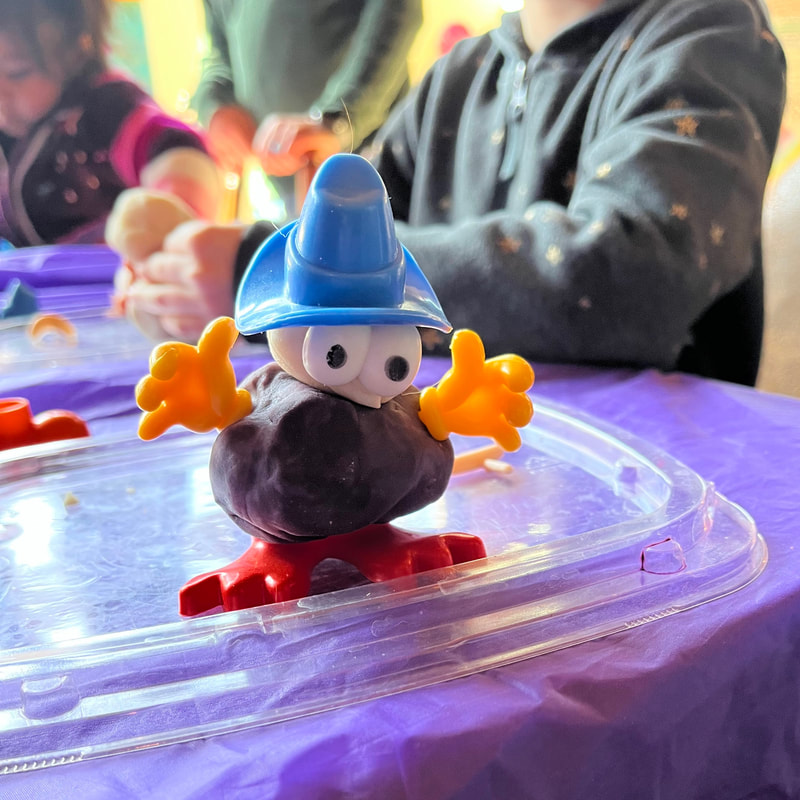
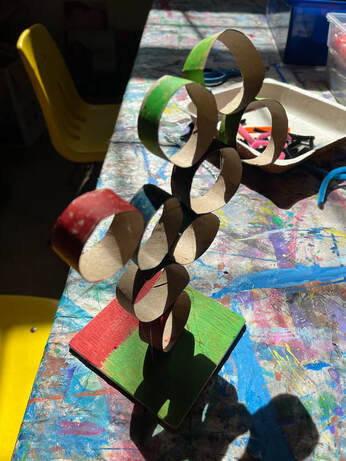 To develop awareness of form and shape, our last class in the 'Elements of Design' series focused on 3D sculptures. Sculptures can sometimes be hard when working with preschoolers because the process of building requires a lot of fine motor skills and problem-solving. When creating this class, I made sure to allow for a lot of options so that the art was accessible to a variety of skills and abilities. We began class with a classic preschool sculpture activity - playdough! The playdough creatures were so silly and adorable, making everyone laugh at their absurdity.
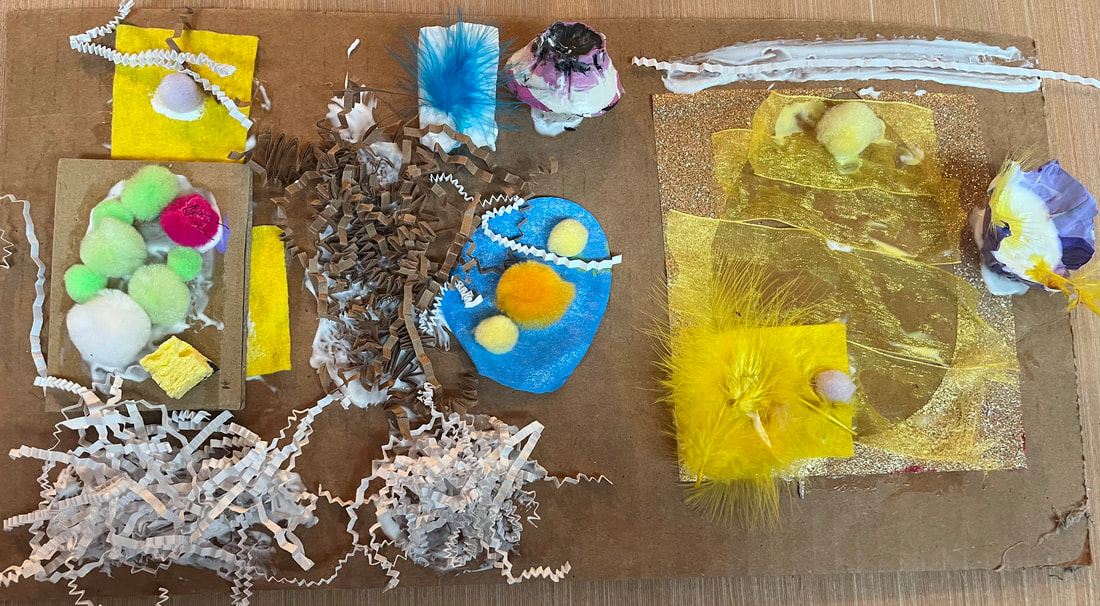 This student named her piece, "Easter." Can you find all the Easter eggs? Texture is simply how something feels when it is touched. In art, we often talk about the texture of an art piece without touching the piece. We are able to do that because we've had lots of experience actually touching things. To give preschoolers the knowledge to speak about texture, we have to give them the opportunities to explore and touch. 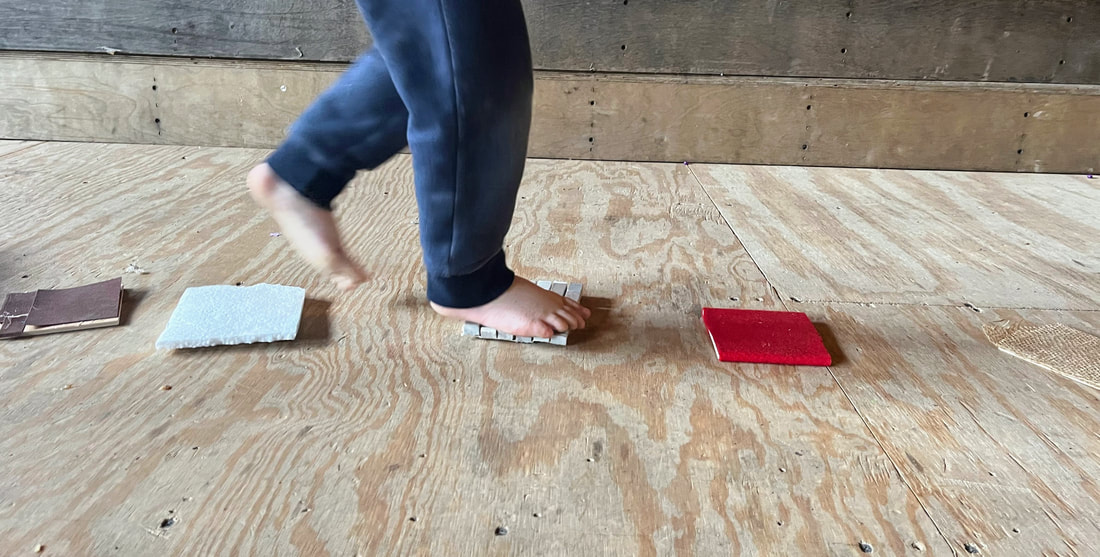 |
Archives
January 2024
Categories |

 RSS Feed