|
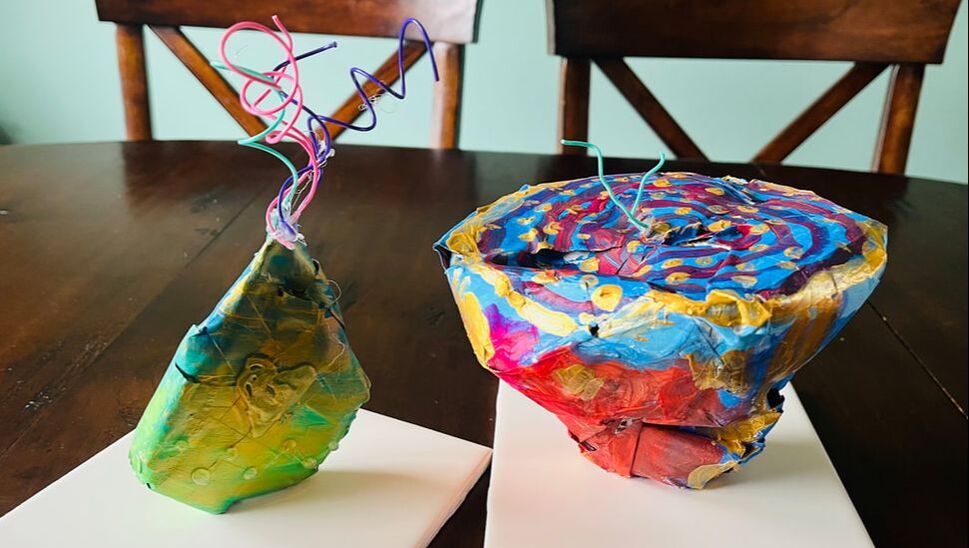
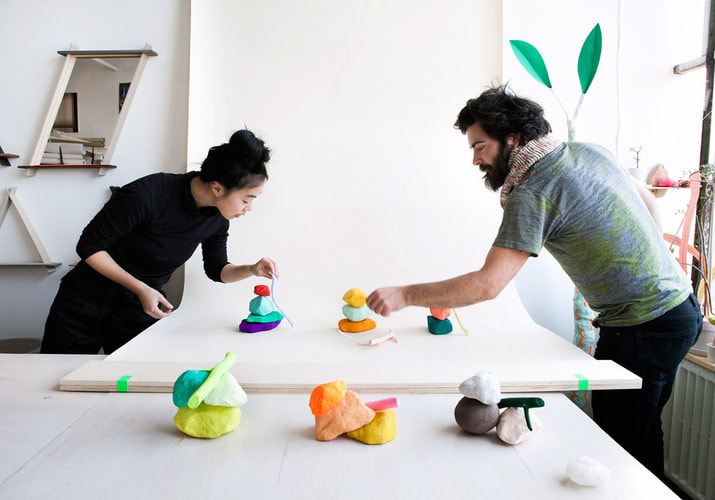
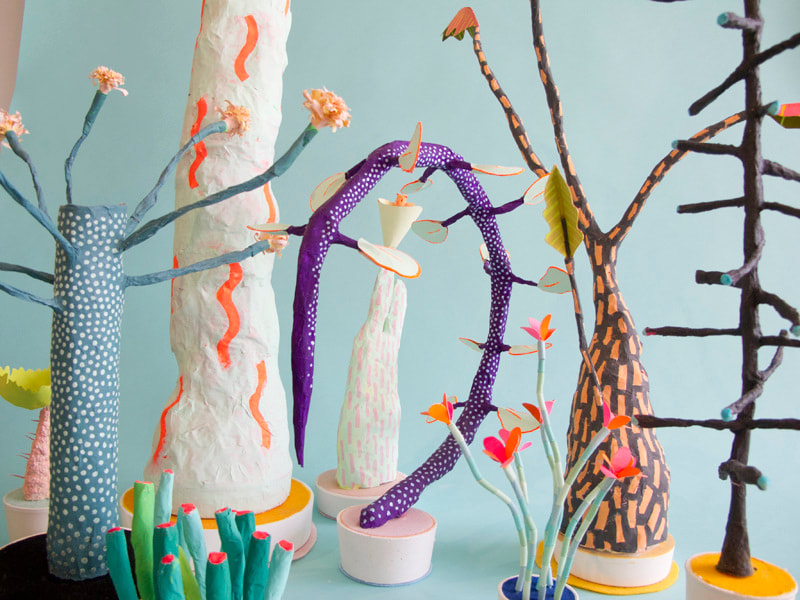
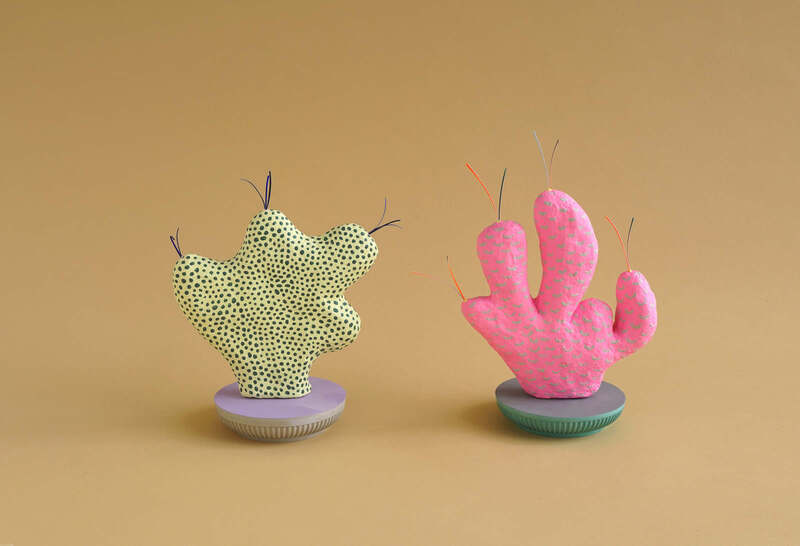
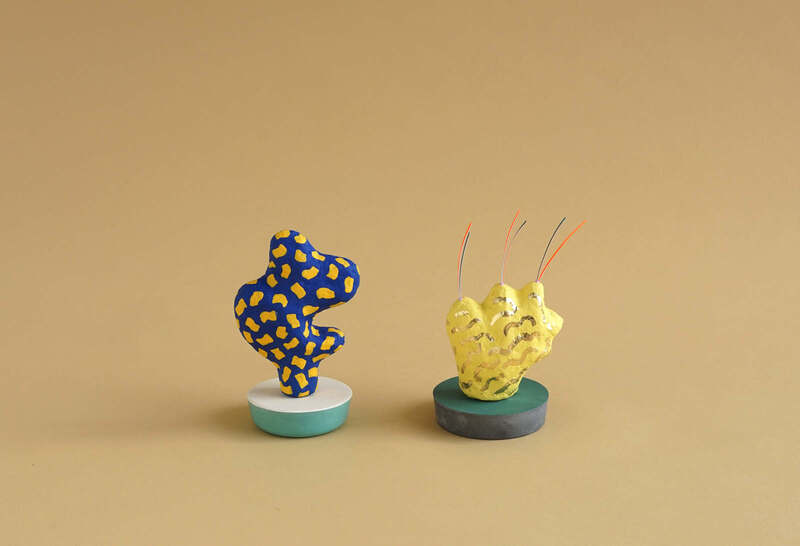
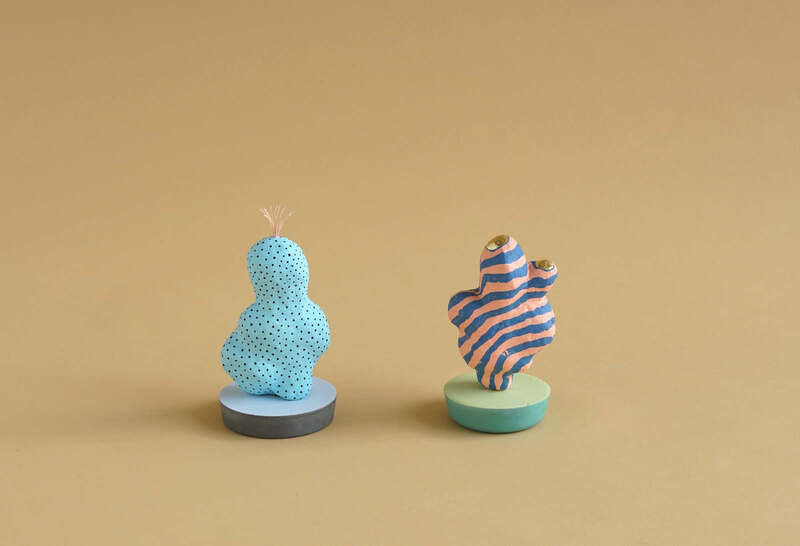
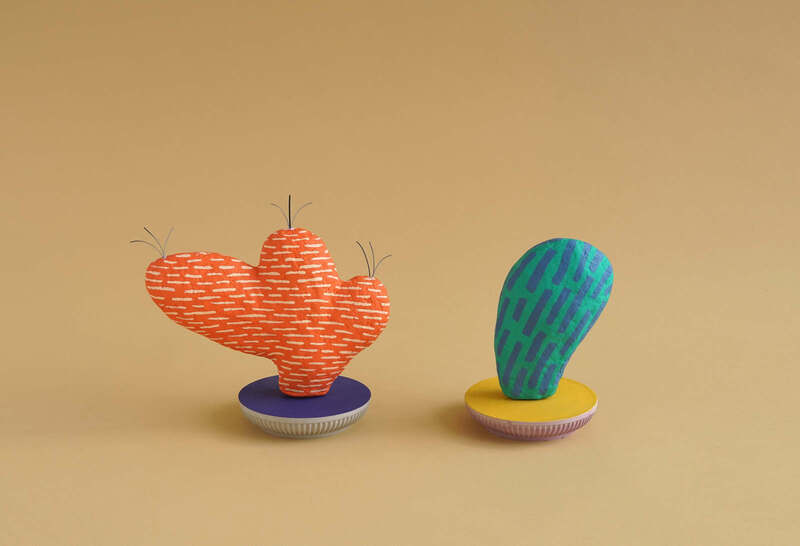
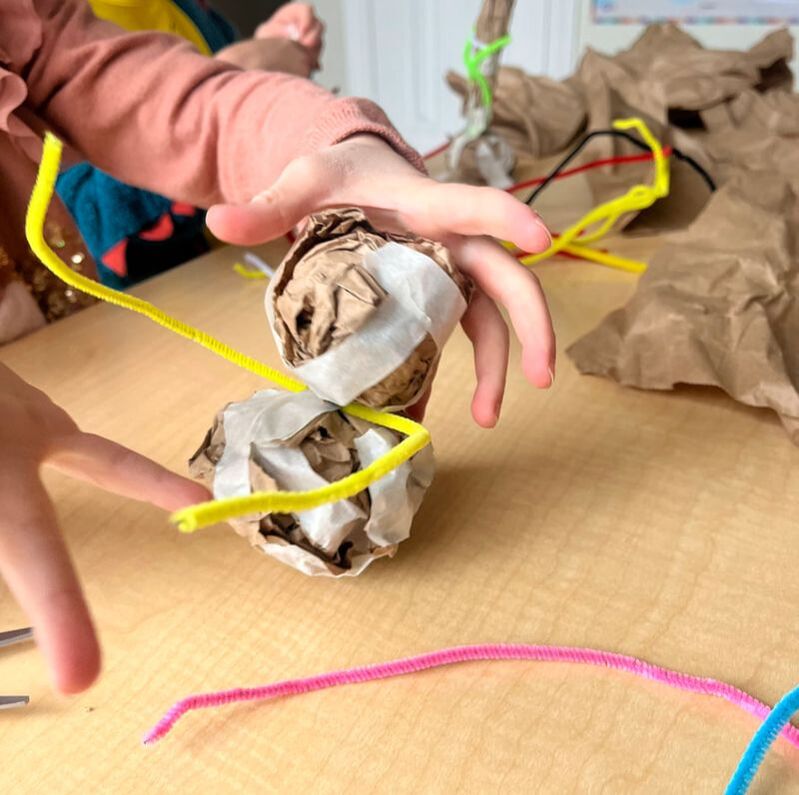
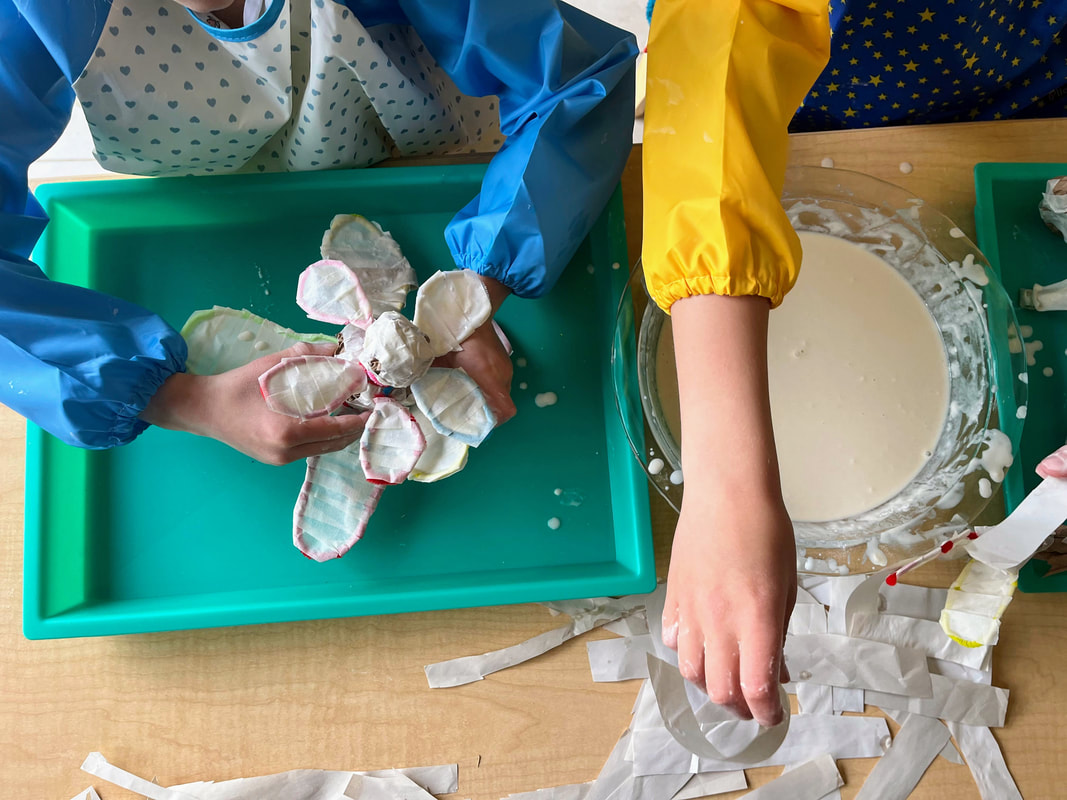
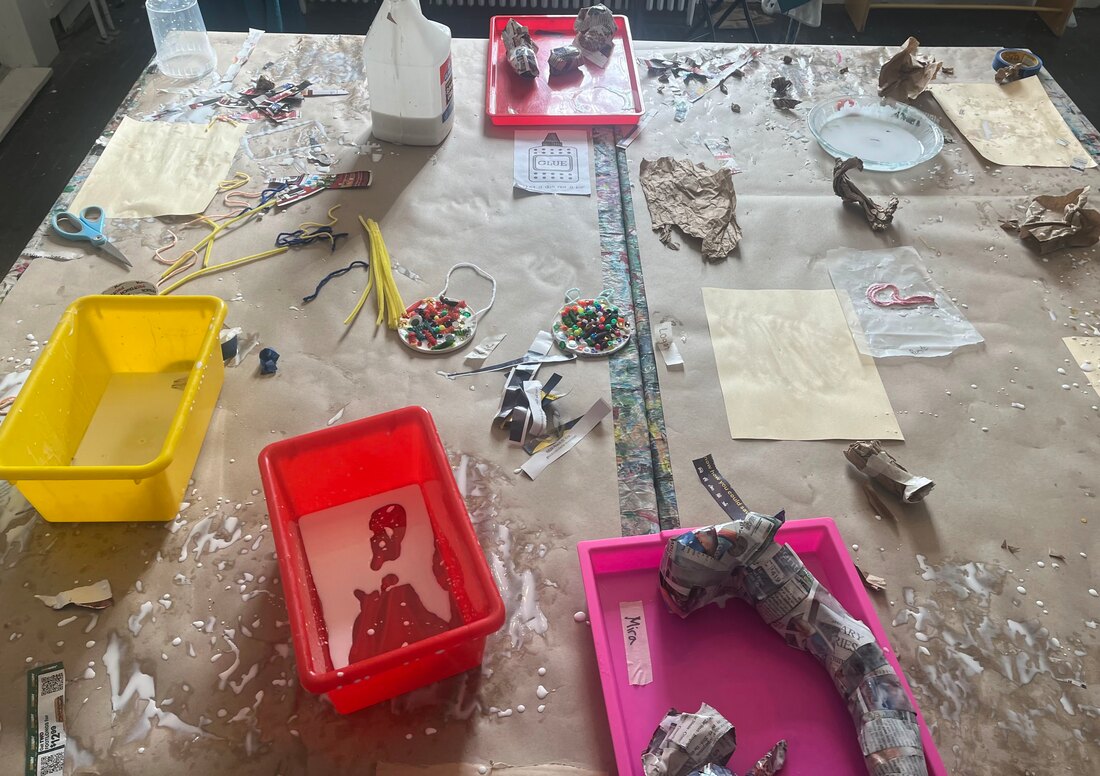
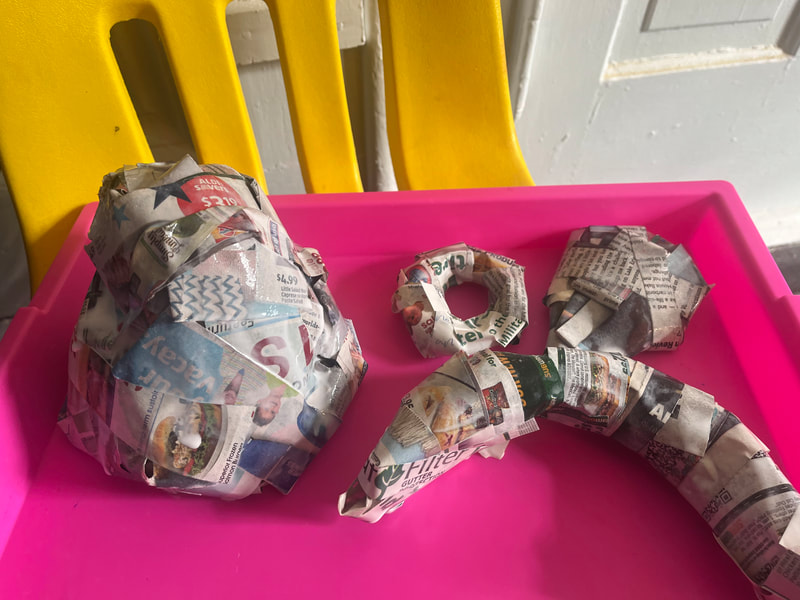
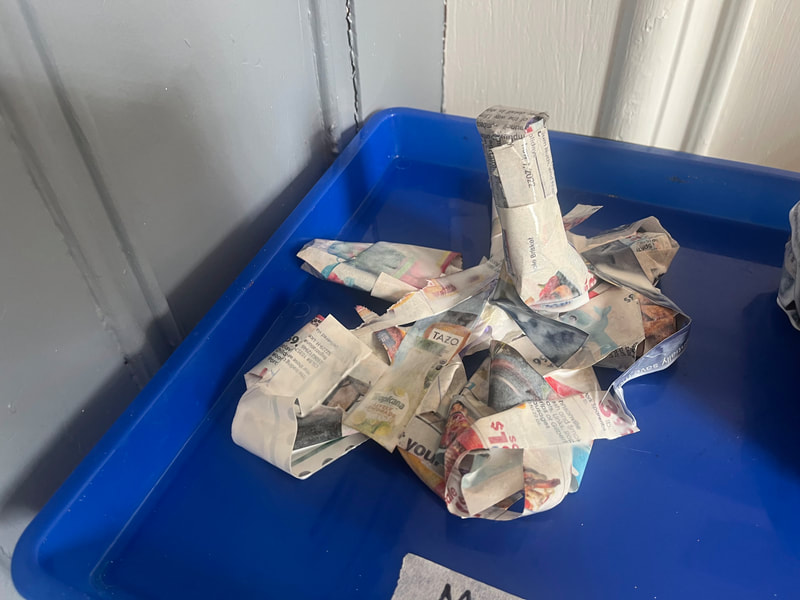
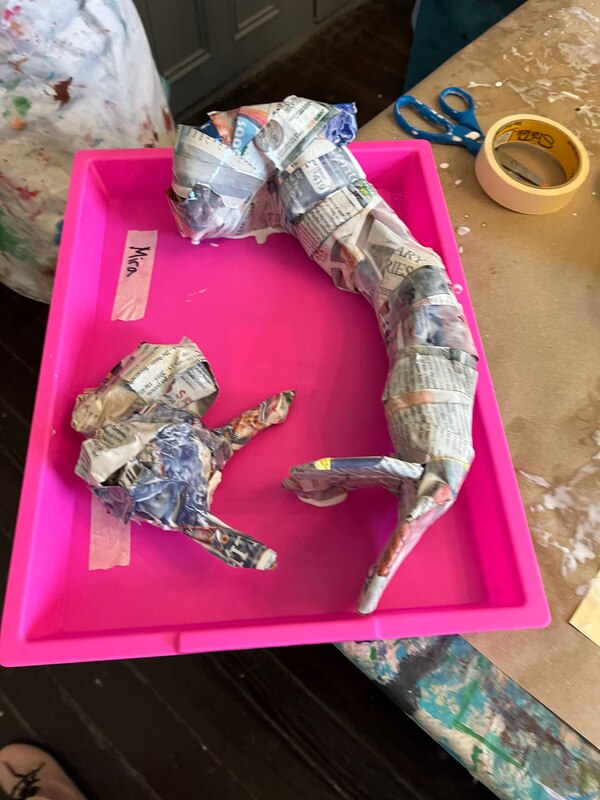
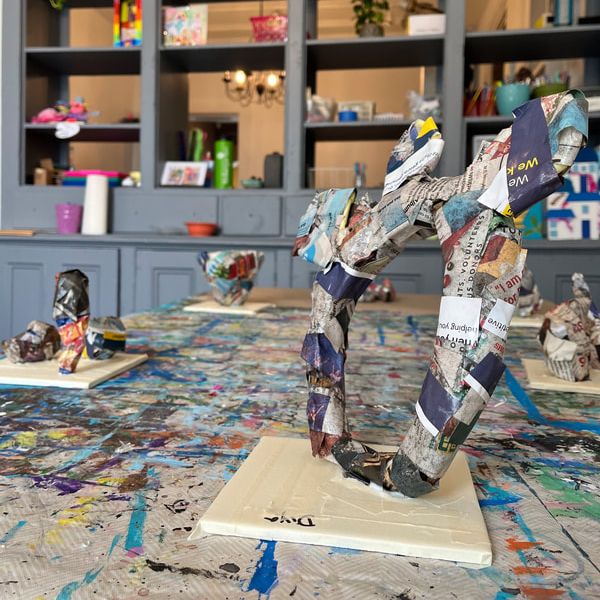
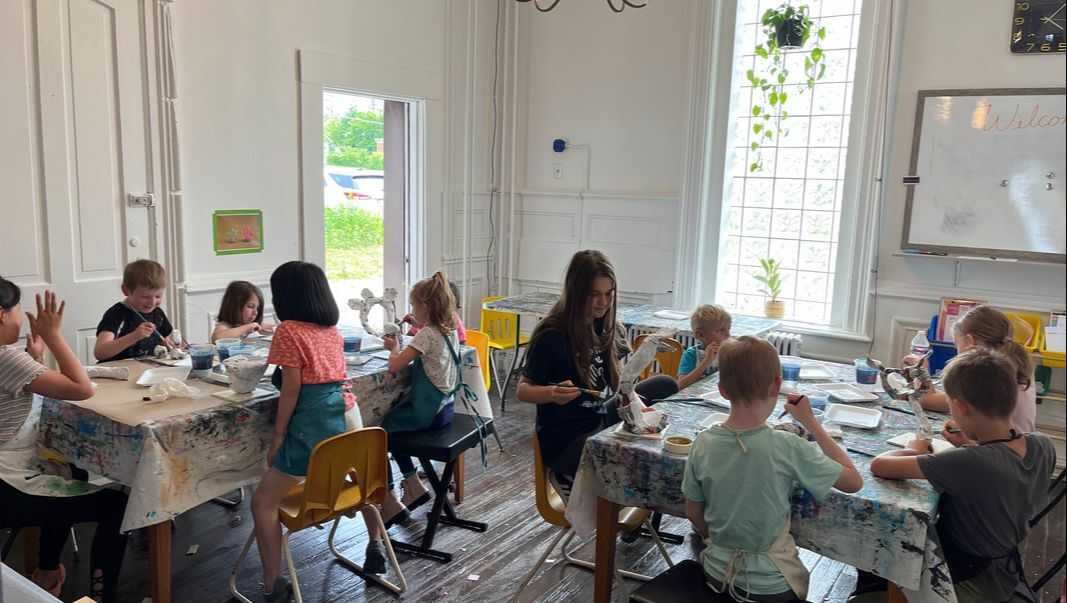
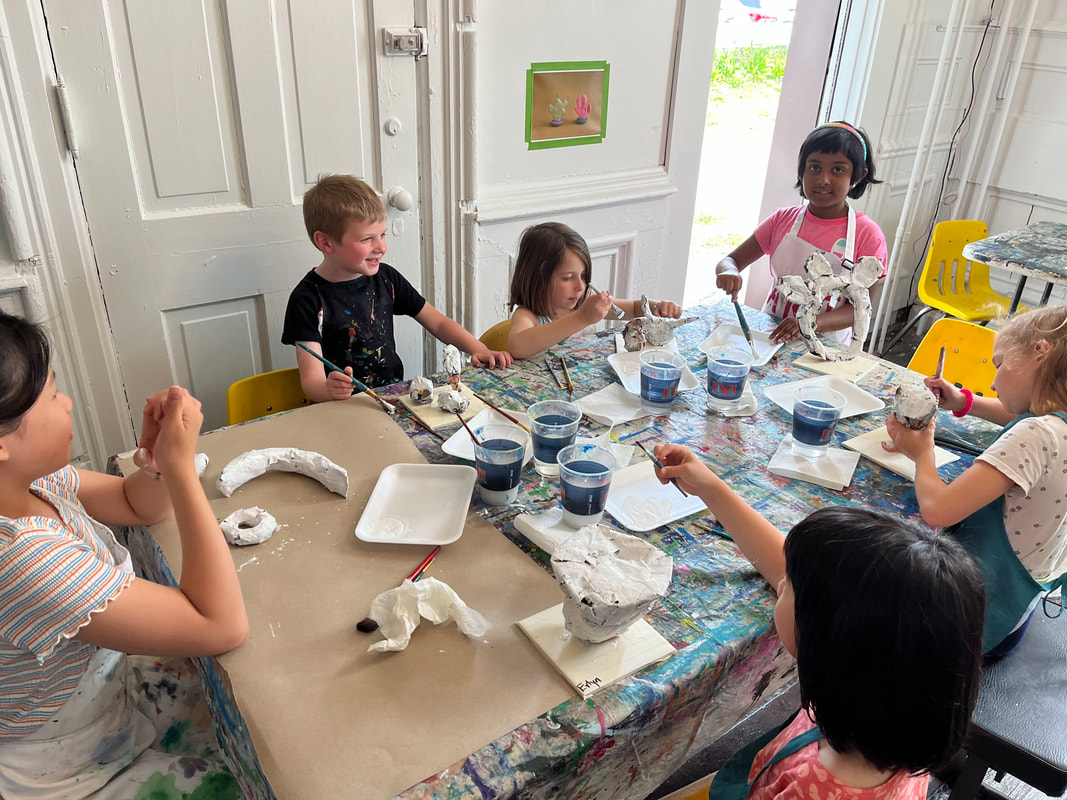
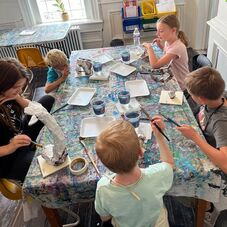
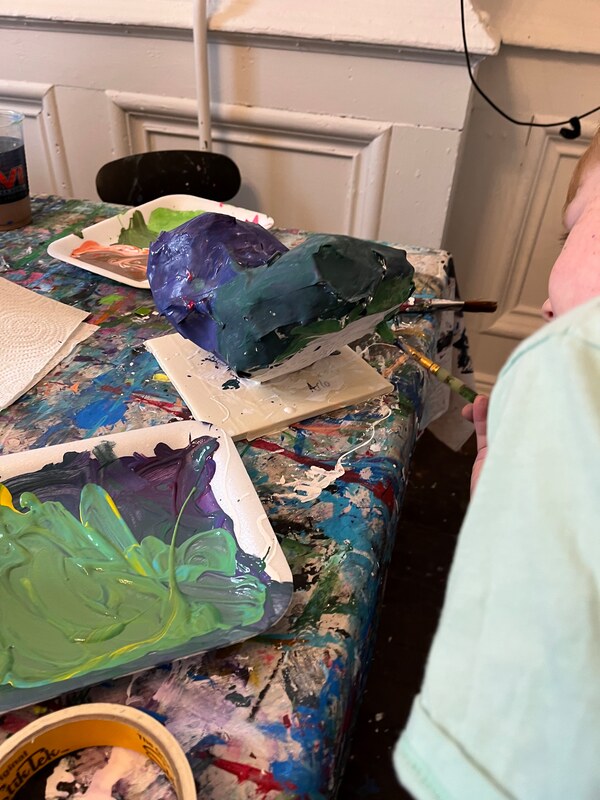
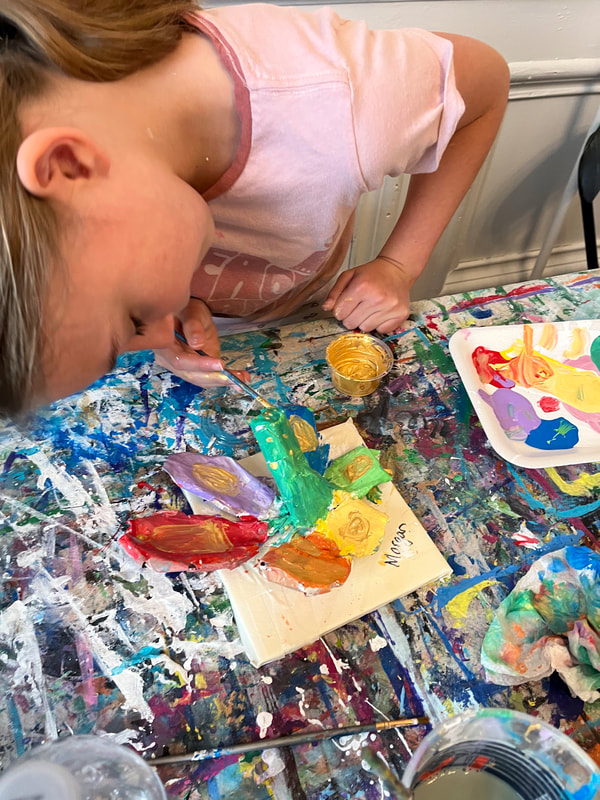
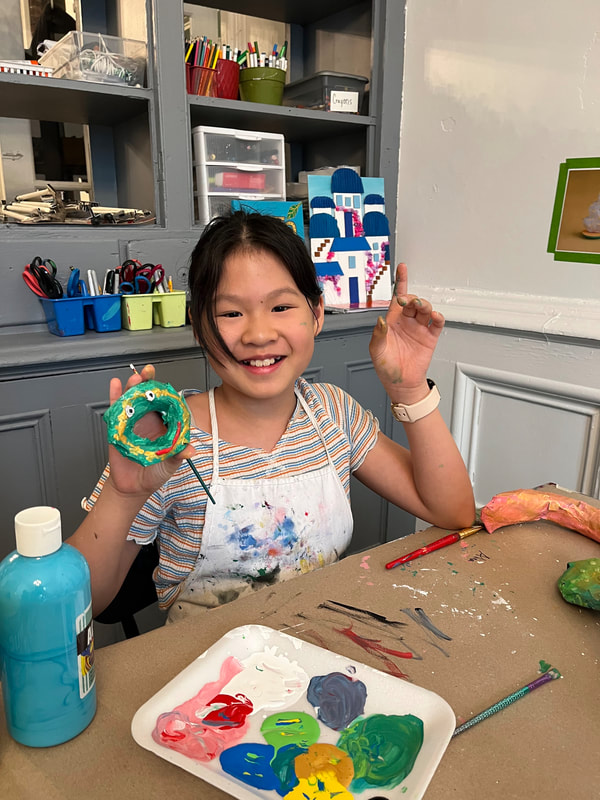
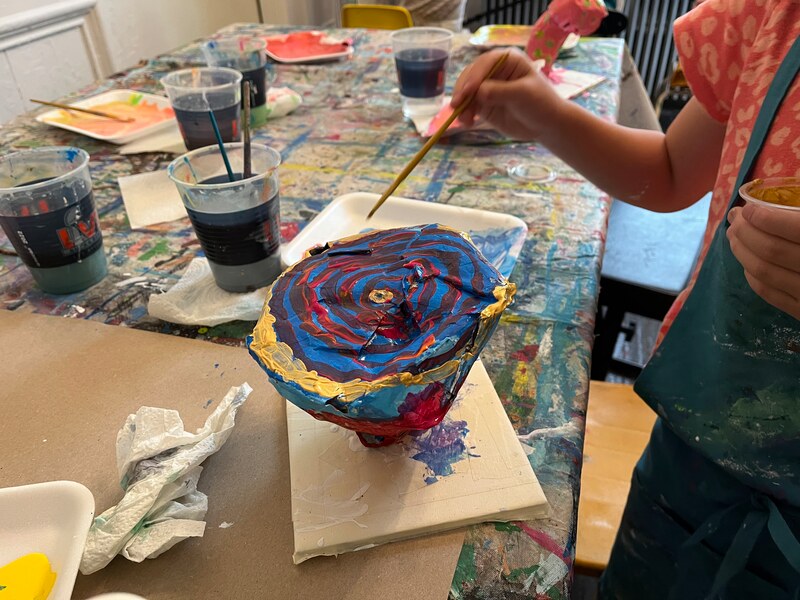
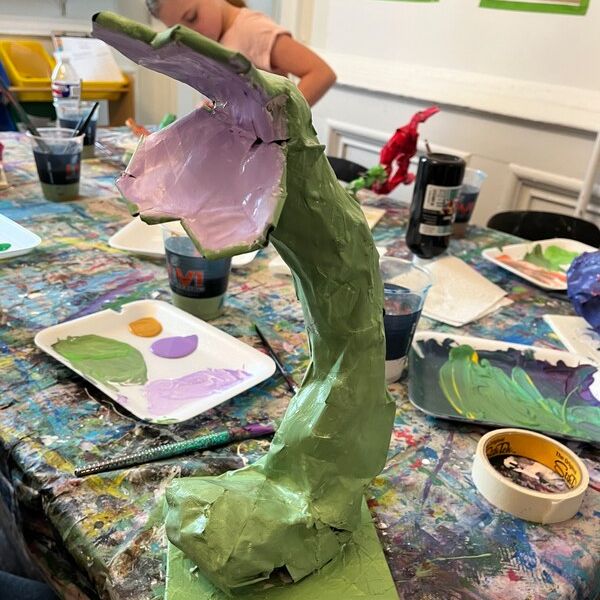
Summer break finally gave me an opportunity to create a process art workshop for the big kids (ages 6-12). I was excited to work with this new age group and see what variations it brought to the art process. Elementary age kids already have experience working with glue. Instead of just playing with glue like we did with the Mini Makers, I wanted to increase the complexity for this older age group. I was inspired by artistic team Chiaozza's cartoon plant sculptures. Chiaozza is really a combination of two names, Adam Frezza & Terri Chiao. They are the perfect collaborative team to inspire process art projects because their work is in the spirit of play and experimentation. Their paper mache plant sculptures are fun and whimsical. I wanted to bring some of that whimsy into the studio. When students arrived I had examples of Chiaozza’s work printed. We talked a bit about their work and then I asked, “If you could create a new plant, what would it look like?” Then we got started building the frame of the structure. At the core of our sculptures was packing paper. I demonstrated how the paper could take different shapes depending on how it is packed or twisted. To secure the shapes, we used masking tape and pipe cleaners. Once the forms took shape, they were ready to be covered with paper mache. Kids used precut strips of newspaper and dipped it into a glue/ water mixture. I demonstrated how to slide excess glue off the strip so that the sculptures would not be overly wet. As we worked, the kids shared with each other what worked for them or what didn’t work. It was fun to hear them collaborating as artists as well. We finished the paper mache process by the end of the first day. I did not have enough time to let the sculptures air dry by themselves, so I baked them in my oven on a very low heat (200F) for a few hours, turning every once in awhile. This worked marvelously. Because I wanted to adhere the sculptures to a tile base, and I needed a very strong glue to do the job, I glued them to the base before the second day began. If I didn’t need such a strong glue, I would have left this step to the kids. I then covered the tile with masking tape to protect the tile from paint. When kids arrived for the second day, they were excited to see their dried sculptures waiting for them. Because the sculptures needed two layers of paint, we got to work right away. We started by priming the sculptures all over with a thick white acrylic paint. We took a quick break to tidy-up and let the paint dry a bit. During our break, the artists brainstormed what colors they need and got to work mixing. Once the sculptures were mostly dry, we got to work bringing our plants to life with color. This is where the plant sculptures developed a personality and you could see the child’s own creativity in their work. The class created a beautiful garden. Each plant was unique to each artist and their own creative process.
0 Comments
Your comment will be posted after it is approved.
Leave a Reply. |
Archives
January 2024
Categories |
Proudly powered by Weebly

 RSS Feed