|
During our first spring Mini Maker's class, we began a discussion about spring weather. We read portions of the book 'When Cloud Became a Cloud,' by Rob Hodgson and talked about how clouds can take a variety of shapes.  After our book, I gave each child a piece of canvas and asked them to draw their own cloud. This was a great starter drawing task for preschoolers because a cloud shape is open to interpretation. As long as the line gets closed into a shape, their cloud can look like anything. There was no "right way."
0 Comments
This class made my heart absolutely sing! There is something so beautiful about watching young children create awareness about their 'self.' I didn't want to get hung up on doing realistic portraits, as this would not have been age appropriate. Instead, I wanted kids to think about, explore, and play with the unique qualities that make them who they are. 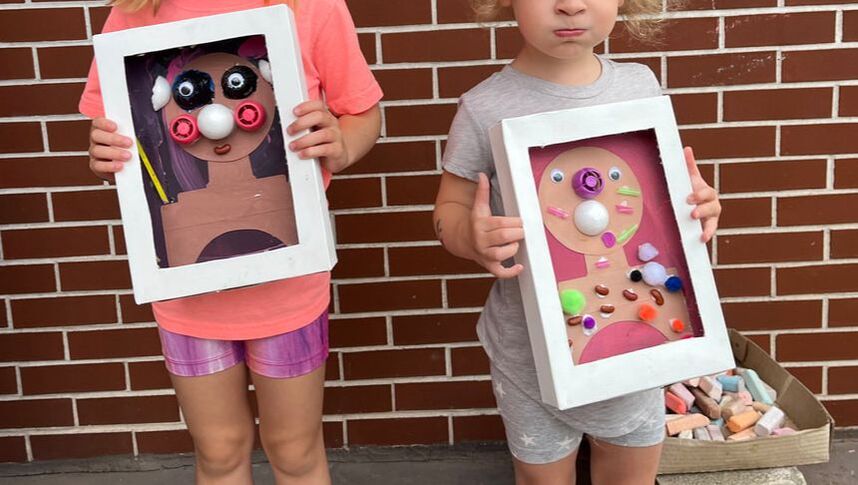 It feels very natural to do an abstract workshop with preschoolers because most of their art is already abstract. We were simply leaning in to a style that is developmentally appropriate. 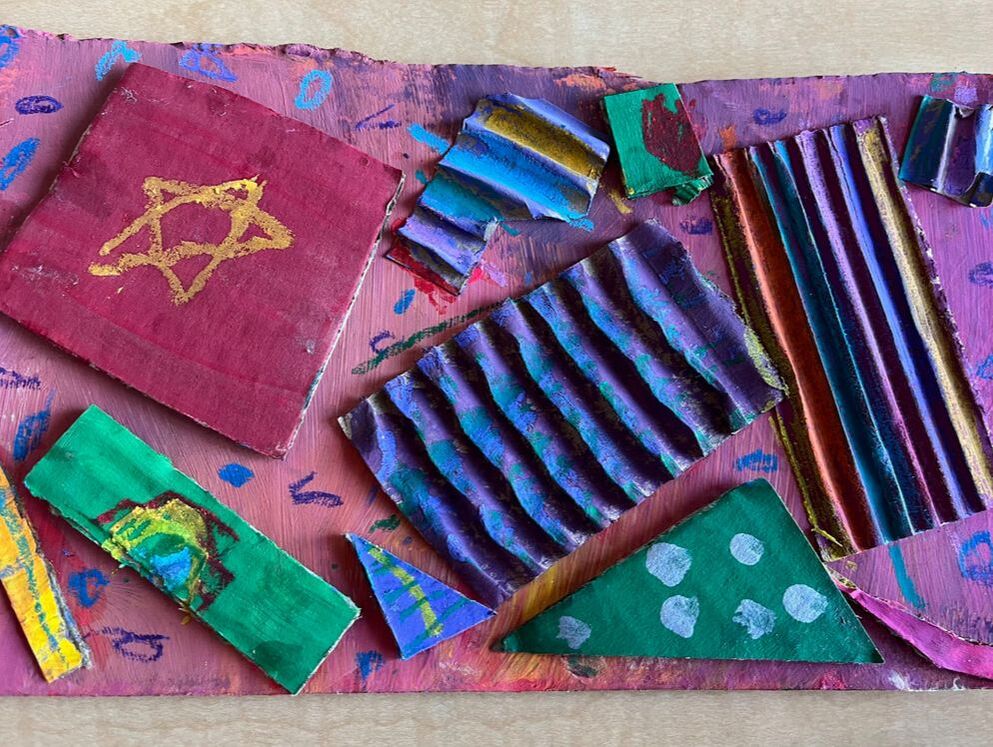 While I wanted kids to feel free to create in a way that feels good to them, preschoolers tend to go overboard when given free rein of too many options. Like when they have all the paint colors and it just becomes brown. With this in mind, I built lots of layers into my lesson plan so that there were natural stopping points and there was no need to verbally limit.
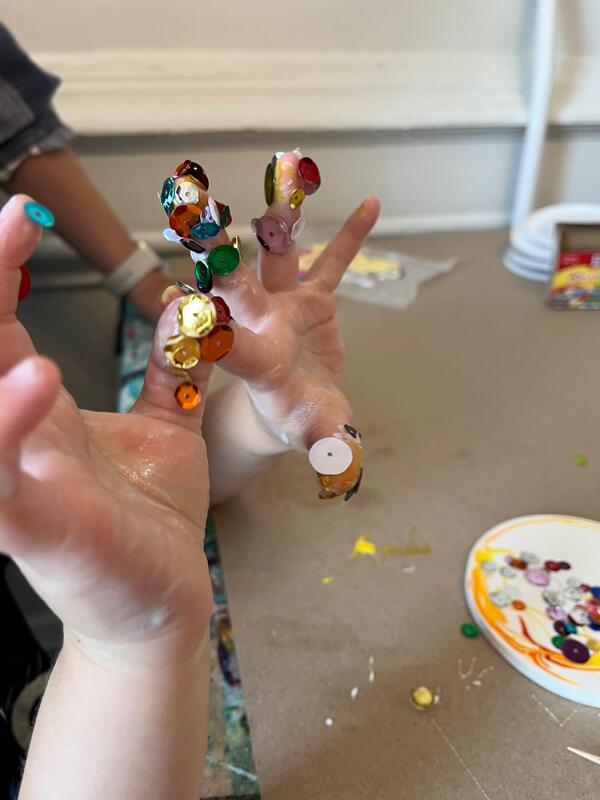
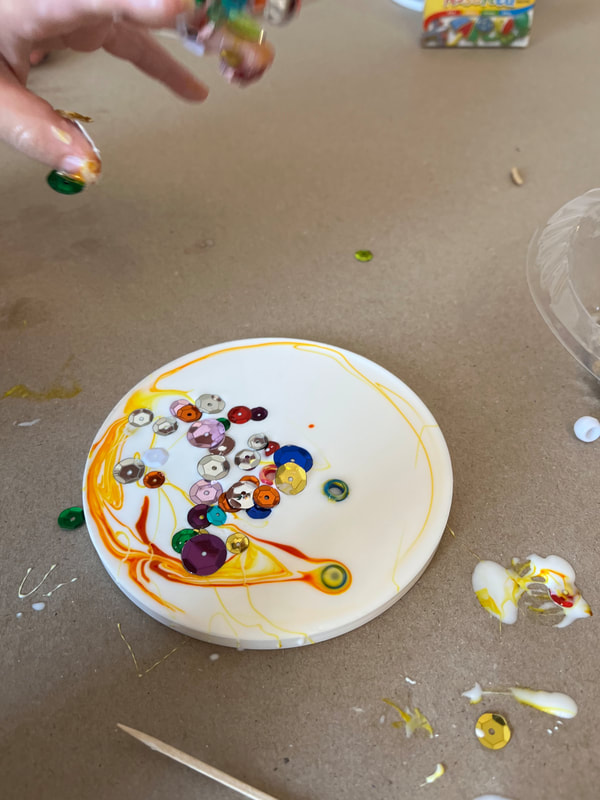
What I love about abstract art is that there isn’t one way to create it. It takes the pressure off of perfection and allows art to be therapeutic. I personally love abstract art because the art is less about what “it is” and more about the emotional response it evokes. At this process art workshop, I really wanted kids to let loose and create in a way that felt right to them.  Summer break finally gave me an opportunity to create a process art workshop for the big kids (ages 6-12). I was excited to work with this new age group and see what variations it brought to the art process. 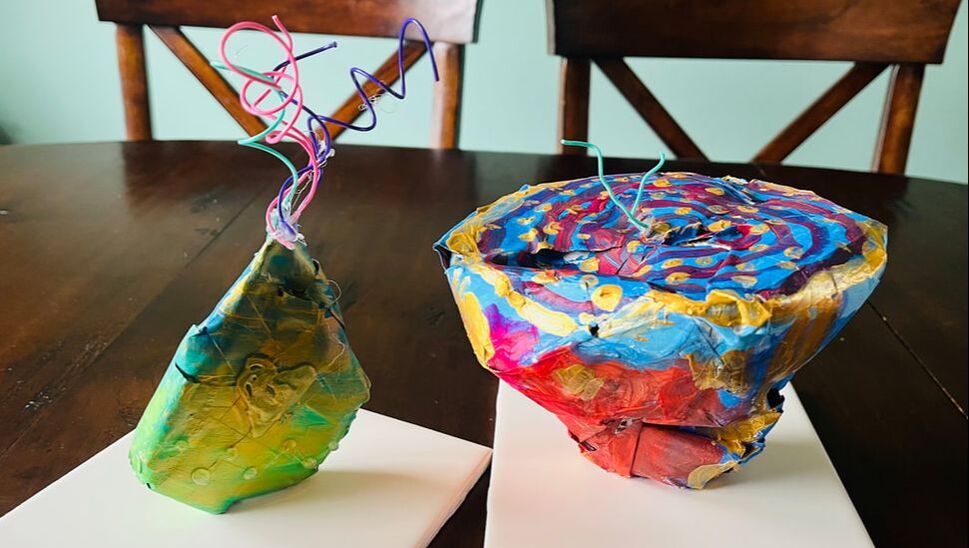 Elementary age kids already have experience working with glue. Instead of just playing with glue like we did with the Mini Makers, I wanted to increase the complexity for this older age group. I was inspired by artistic team Chiaozza's cartoon plant sculptures. Chiaozza is really a combination of two names, Adam Frezza & Terri Chiao. They are the perfect collaborative team to inspire process art projects because their work is in the spirit of play and experimentation. Their paper mache plant sculptures are fun and whimsical. I wanted to bring some of that whimsy into the studio.
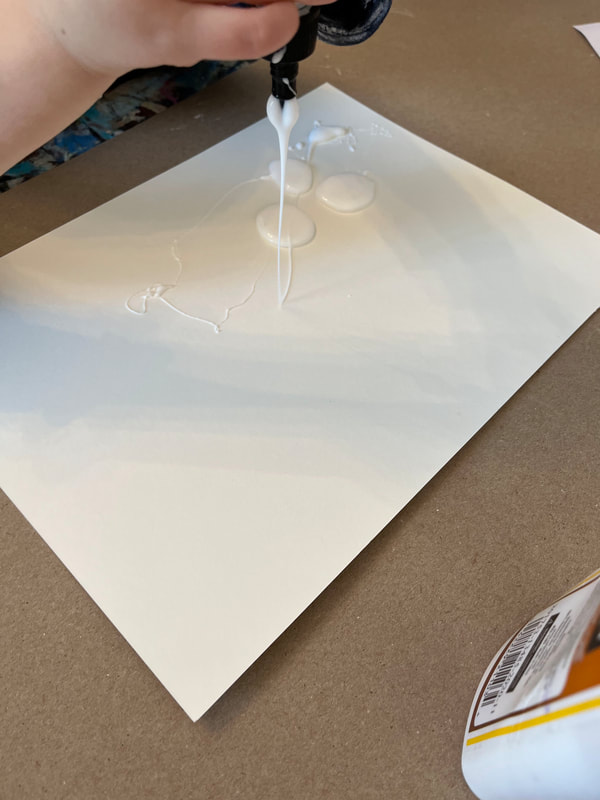
Our Mini Makers “Super Sticky” 2-Day workshop was every bit as fun as I dreamed. This workshop mulled around in my brain for a while before it became a reality. I was inspired by the book ‘Too Much Glue’ by Jason Lefebvre, as well as my years of experience watching preschoolers use glue. I wanted to give our Mini Makers the opportunity to play and experiment with glue, showcasing it as its own form of media.
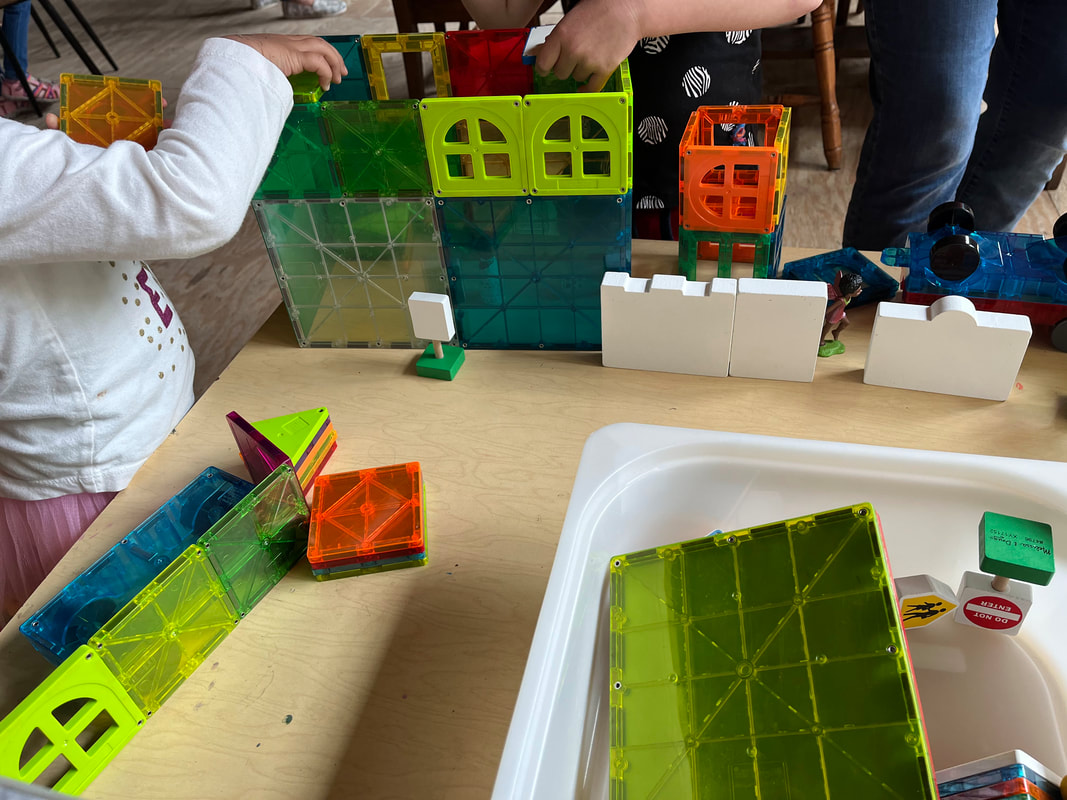
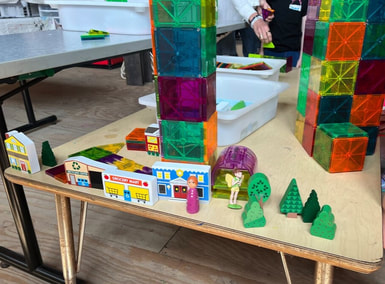
It has been such a busy summer at the new studio location, I haven't gotten to share about our first Mini Maker's class in the new studio two months ago. It was also our last class in the Science & Art class series. Our focus was on 'Absorption' - or lack there of. 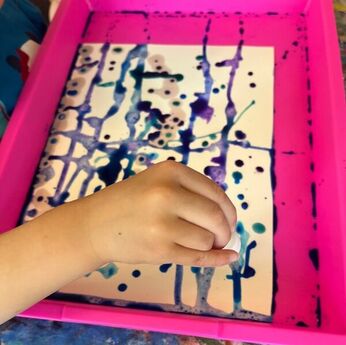 The trick when working with young children and talking about complex subjects is to simplify and make the subject tangible. We opened our class about 'Force' by building a marble run. 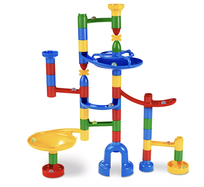 Marble runs are great for open-ended building. They’re an example of a STEM toy (Science, Technology, Engineering, Math). And, they’re a lot of fun, both for kids and adults. This was a great tool to start a conversation about force. There is a lot a variation in how the marble travels - slopes, bends, twists, turns, gravity, heights, etc. To simplify the definition for my young students, I described force as "a push or a pull." I asked the kids to stand up and jump. What force pulled us back to Earth? One bright six year old knew it was gravity! 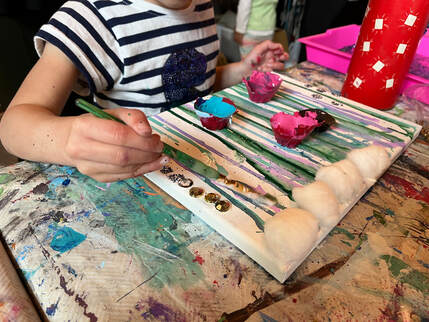 Today we began a new class series that focuses on how science and art can intersect. Traditionally, art and science have been treated as separate disciplines, but when they are studied together, it’s clear to see the impact one has on the other. 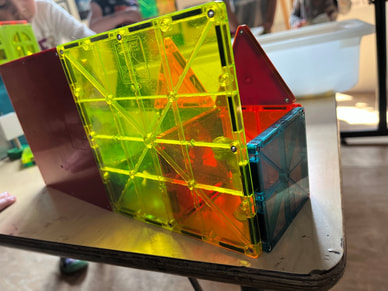 In our first class of the series, we focused on magnetism. When children arrived, they were invited to build with MagnaTiles. To inspire Mini Makers, I Included wooden people, trees, and buildings. In no time, our future city planners were building a little town.
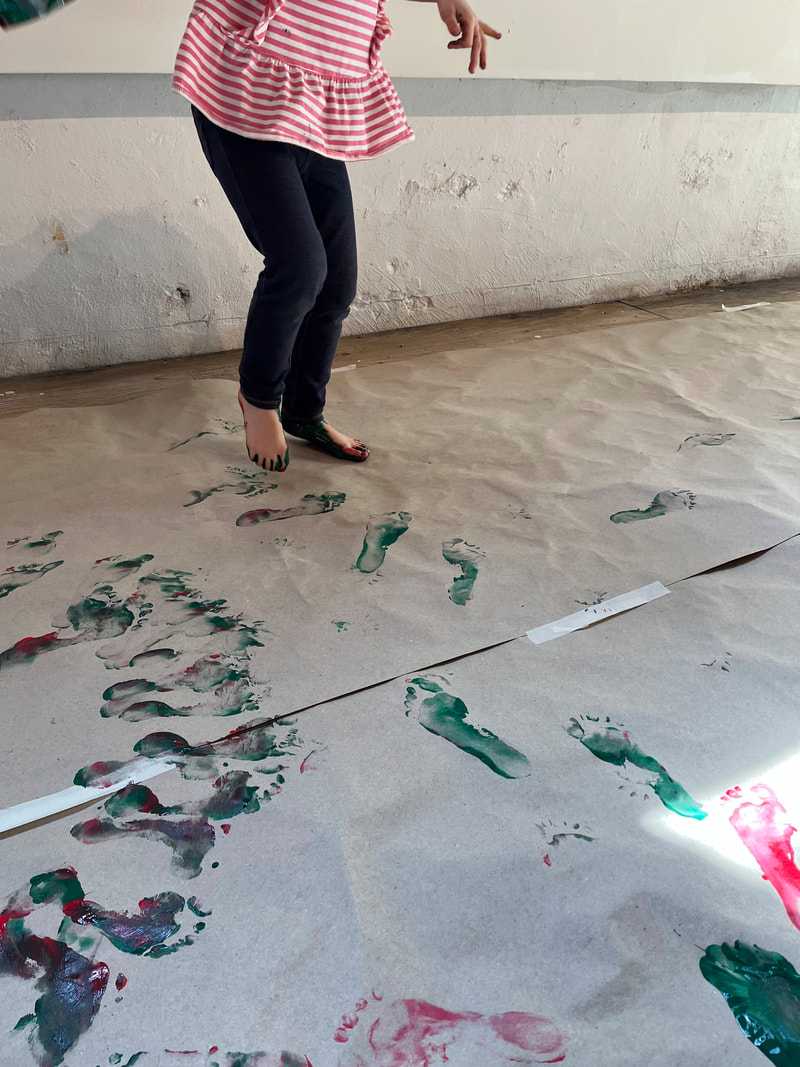
When we talk about our bodily senses, usually we think of the five senses most of us have been taught - sight, sound, smell, touch, and taste. But scientists agree we have more senses than just the five 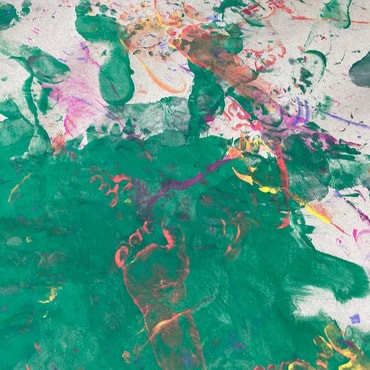 Two of these lesser known senses deal with movement. Our sense of where our bodies are in space is called proprioception. It is our understanding of where our limbs are in space. It helps us climb stairs without looking at each step and balance our bodies. People with poor proprioception may be clumsy and uncoordinated. The sensation our muscles apply to our skeletal joints, like when we are lifting objects or changing directions, is called our kinesthetic sense. This sense helps us to distinguish between light and heavy or whether the our muscles are stretching or contracting.
Children are natural born movers because their movements instinctively activate and strengthen their senses. Today’s class was all about leaning into those instincts, as well as shaking up the way we normally move. |
Archives
January 2024
Categories |
 RSS Feed