|
Sometimes when we do process art, there is no product in the end because maybe the art got too wet or destroyed in the process. Or maybe the art was a lot of fun to make, but the product isn't aesthetically pleasing. However, sometimes when we do process art, the process is amazing AND we end up with a gorgeous product. Today was one of those days. I wanted to keep each and every child's art. 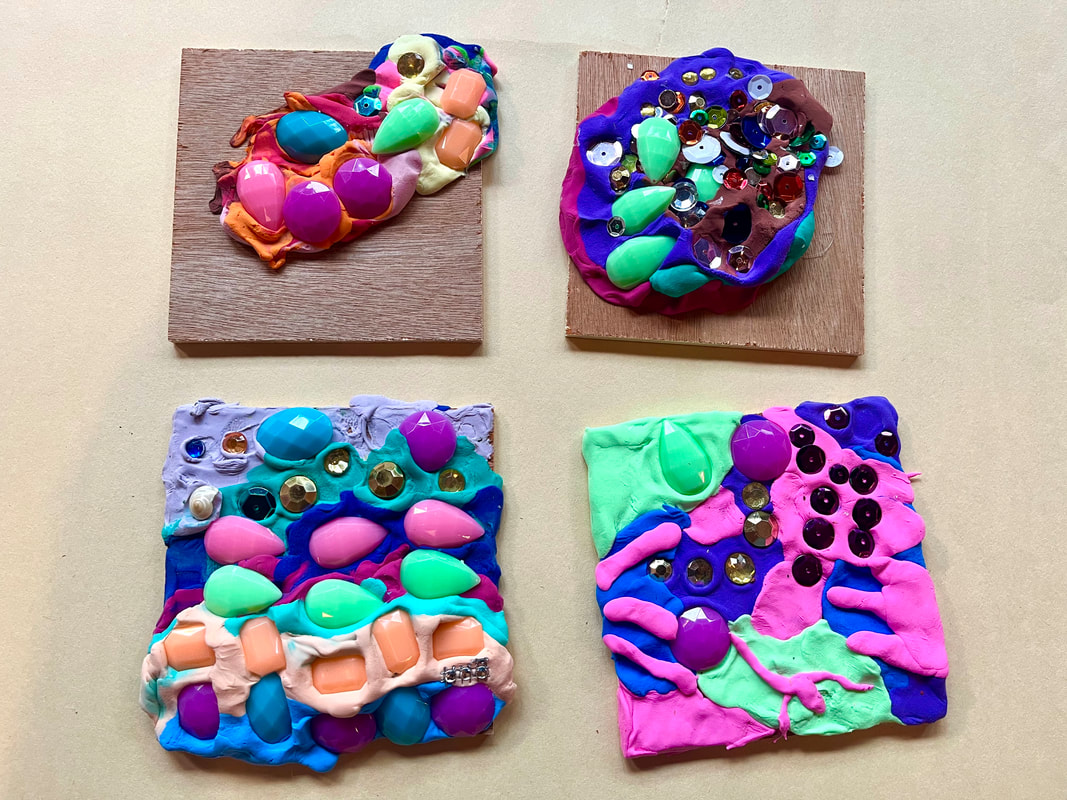
0 Comments
This week, our class focused on exploring art through sound, creating some new and exciting experiences. 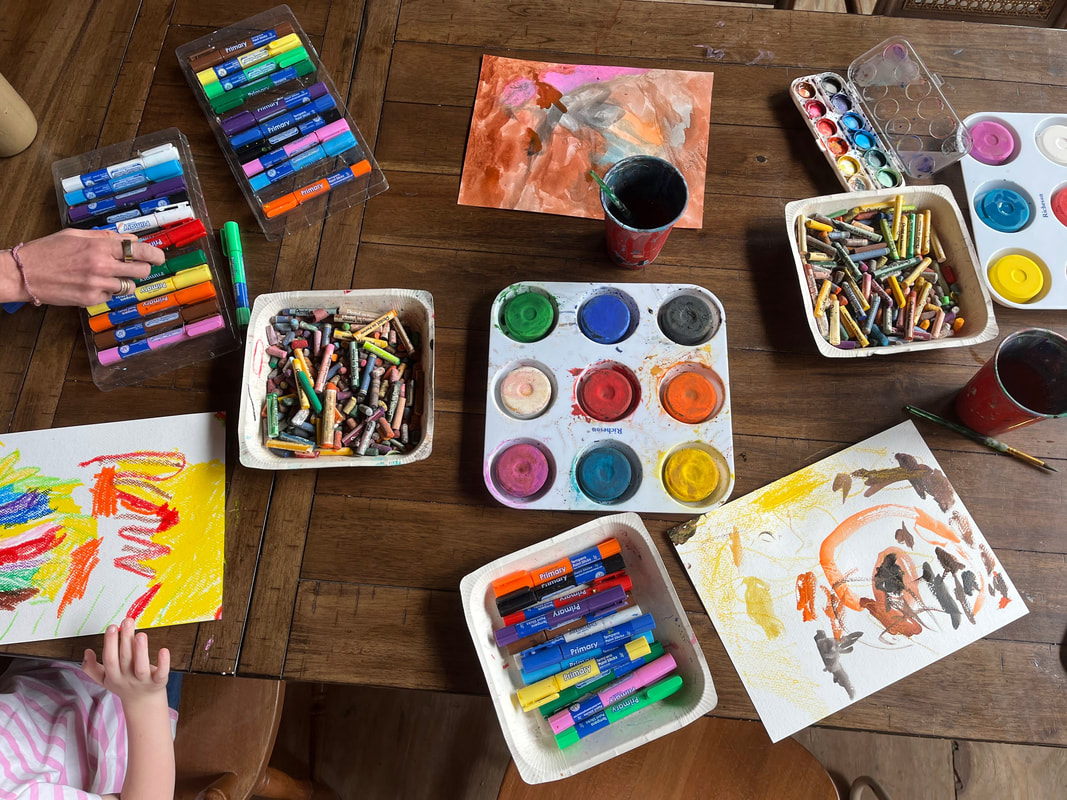 When students arrived, I had some classical music playing. I asked the students to paint how the music made them feel. While they worked, I briefly told them about the painter Wassily Kandinsky and how he actually saw colors when he heard music. To all the adults' amazement, a quiet blanketed the room while the students immersed themselves in their artwork.
Children are naturally drawn to activities that stimulate their senses. They want to touch, taste, smell, and move. That's because children's senses play an important role in their health and development. Through sensory play, children build cognitive skills and learn about their world. 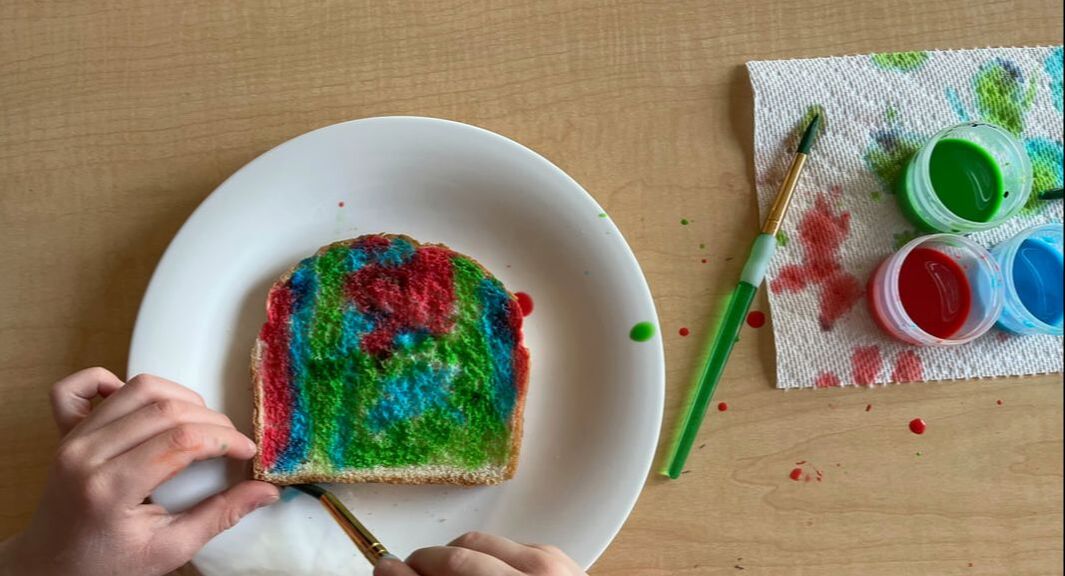 In our 'Sensing Art Beyond Sight' series, we used children's natural interest in sensory play to explore art. Our first class in the series focused on taste and smell. There was an excited buzz about this class because, who doesn't love edible art?
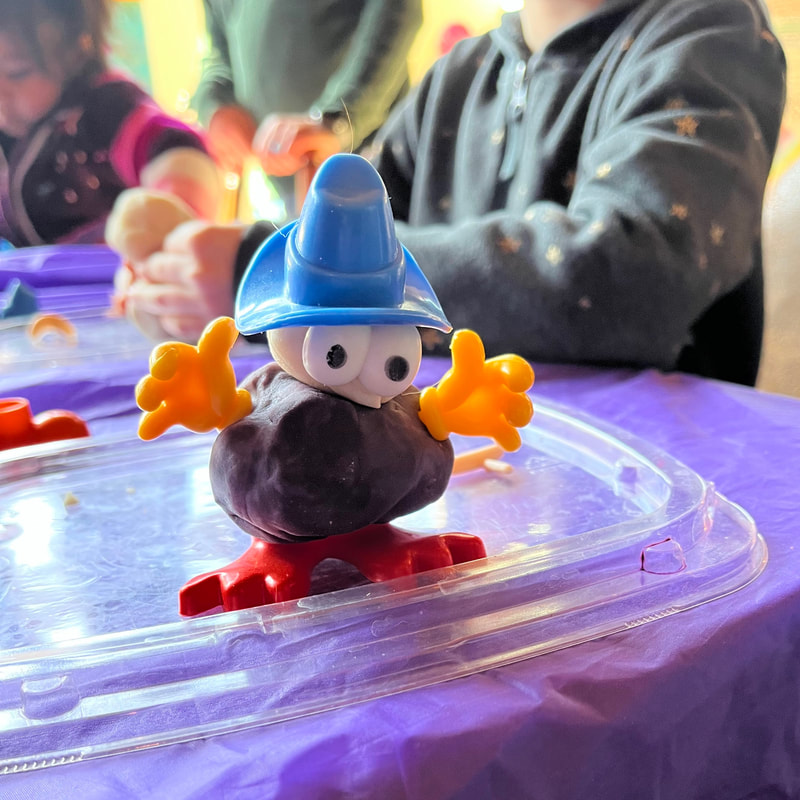
 To develop awareness of form and shape, our last class in the 'Elements of Design' series focused on 3D sculptures. Sculptures can sometimes be hard when working with preschoolers because the process of building requires a lot of fine motor skills and problem-solving. When creating this class, I made sure to allow for a lot of options so that the art was accessible to a variety of skills and abilities. We began class with a classic preschool sculpture activity - playdough! The playdough creatures were so silly and adorable, making everyone laugh at their absurdity.
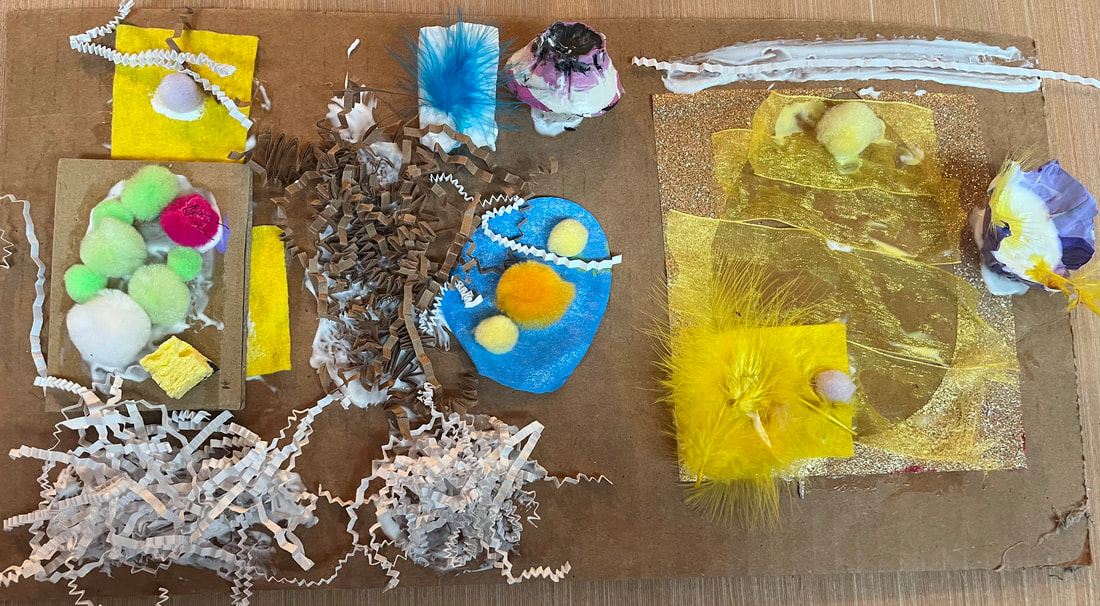 This student named her piece, "Easter." Can you find all the Easter eggs? Texture is simply how something feels when it is touched. In art, we often talk about the texture of an art piece without touching the piece. We are able to do that because we've had lots of experience actually touching things. To give preschoolers the knowledge to speak about texture, we have to give them the opportunities to explore and touch. 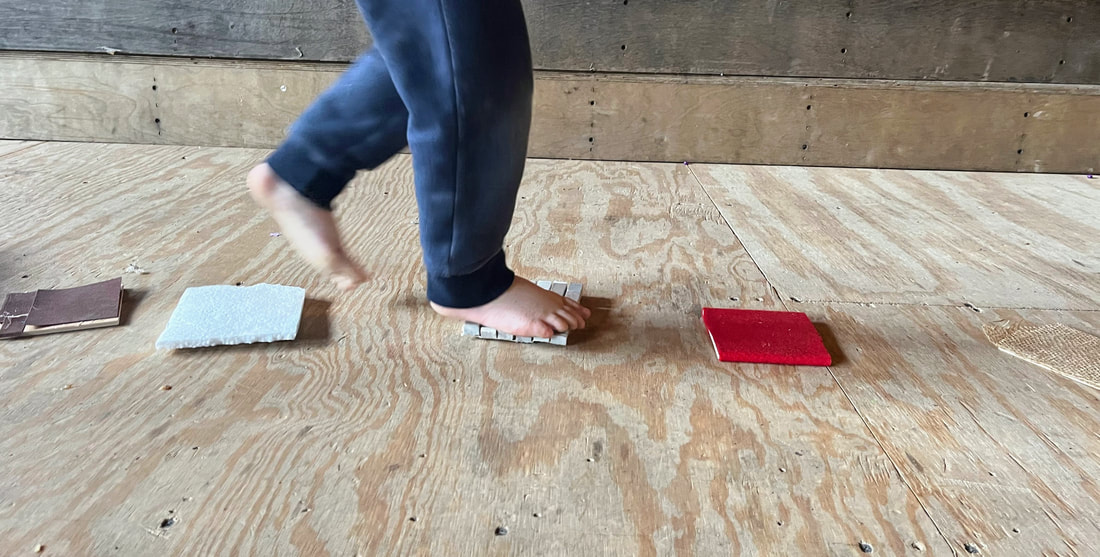 I have to admit, I was a little nervous to teach this class. Would a bunch of preschoolers allow me to limit them to one color? Would they find monochromatic art to be completely boring?? I knew an added challenge would be that many kids are still learning the names of colors. What happens when I throw two shades of yellow at them and name them both yellow? Will I completely confuse these children? In the end, this was one of my favorite classes and their artwork turned out STUNNING. I was so sad when they took their art home. I wanted to hang their work in the studio and never let it go. 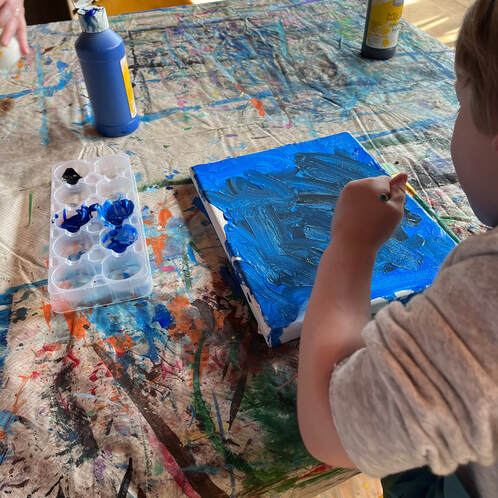 Space...the final frontier. 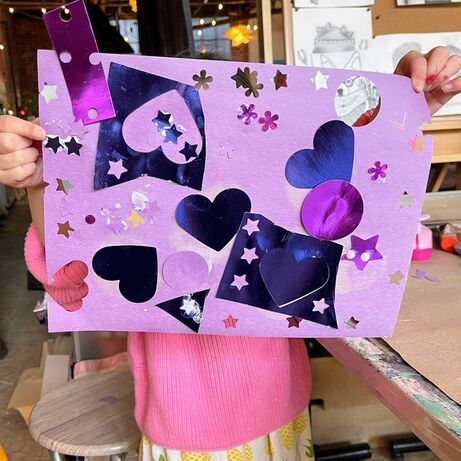 No, no, not that kind of space. When we talk about "space" as part of the elements of design, we are talking about the use of visual area in an art piece. The idea of "space" can be pretty complex in meaning and by no means an easy thing to teach young children. So without trying to verbally teach anything, my goal in this class was to take this abstract idea and make it tangible.
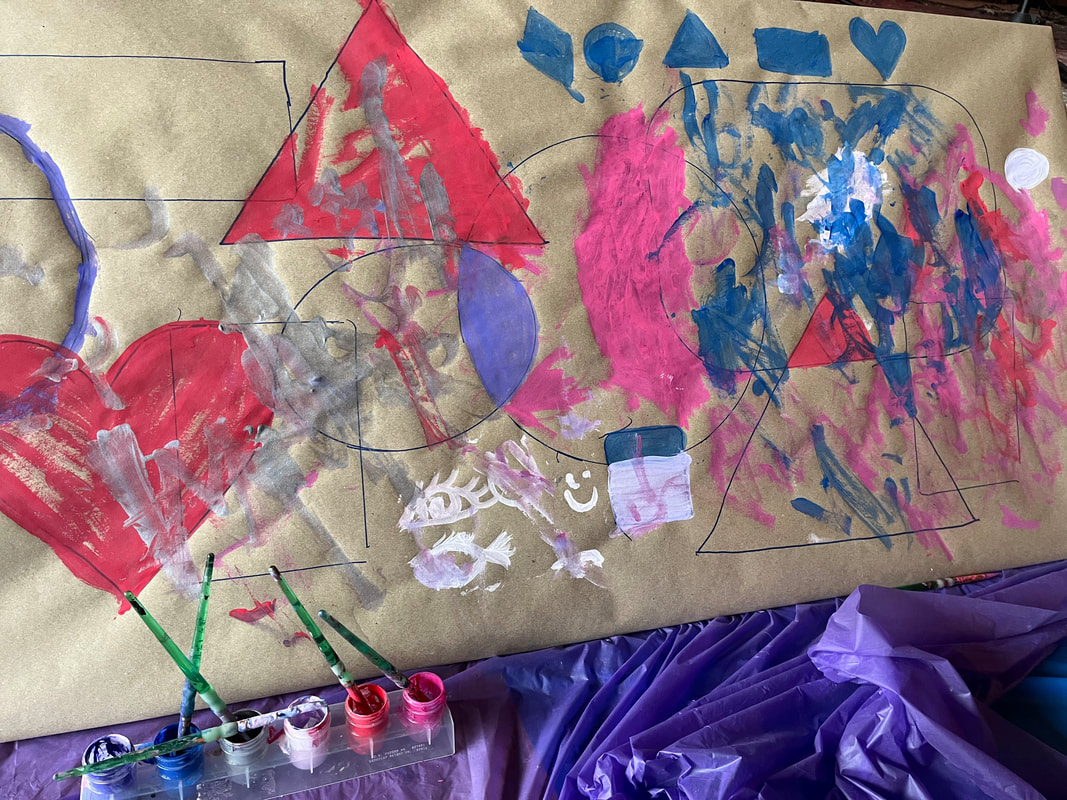 Shape is a familiar concept to young children. Us parents and teachers are often quizzing the kids in our lives, "What shape is this?" The familiarity of the subject made it easy for students to quickly engage and remained focused in our Elements of Design class. We began class playing with shapes that we could explore with our hands - MagnaBlocks, wood blocks, Duplos, pattern blocks, and GeoBoards. Young students learn best when moving, touching, and doing. One little girl jumped up from her work and announced, "Hey! Two triangles make a diamond!" She would not have learned that from me telling her. She needed to discover it.
What is a line? It's simply a moving dot. Movement is also the best way children engage with the world. Our class focusing on Line began with several immersive activities where students became the moving dots. We began with a Montessori-style activity, "Walking the Line," inviting children to use their whole body, refining balance and control. Some children used their creativity and adapted the line to become a road to drive a car. We started our 'Elements of Design' series focusing on color. Color theory can often feel obvious to us adults who have had experience mixing colors, but to little ones, making green from yellow and blue almost feels like magic. 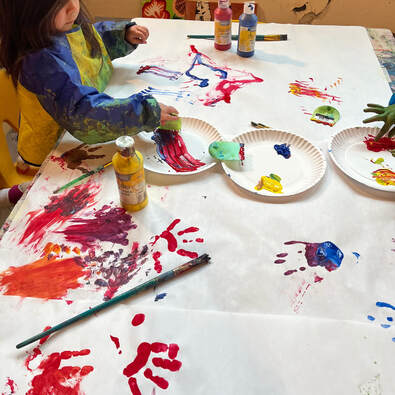 I can explain the color wheel to my young students over and over, but the information is not going to stick well. The best way for young children to learn is to learn through hands-on experience. That hands-on mixing experience is the basis for our class.
|
Archives
January 2024
Categories |


 RSS Feed